The Setup page is where you add each of your APIs.
Click on WPGetAPI in the sidebar of your WordPress admin to be taken to the Setup page shown below.
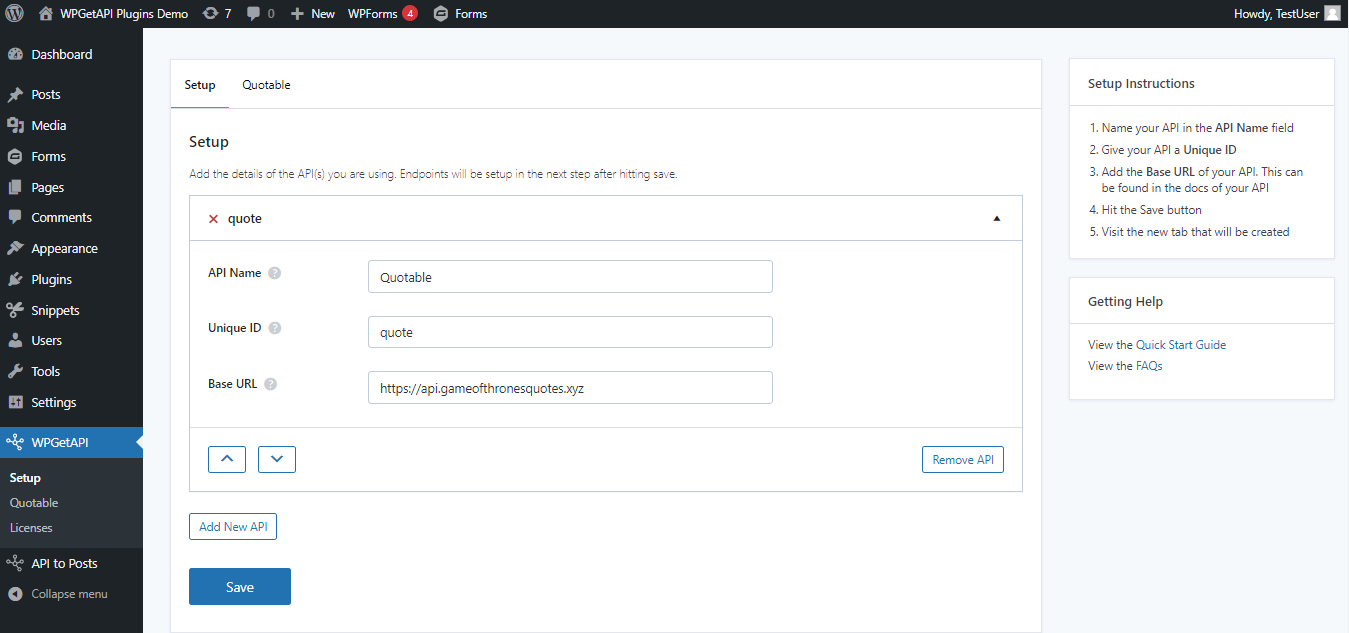
You can add unlimited API’s here simply by clicking on the Add New API button.
Each API requires 3 fields as detailed further below. Once they are all filled in and we hit save, a new tab will be created for your newly added API.
The newly created tab is where you will then add the endpoint details.
API Name field
The Name field is where you add the name of your API, and this can be any name you choose.
This name will be used in the new tab and new menu item that is created after saving this page.
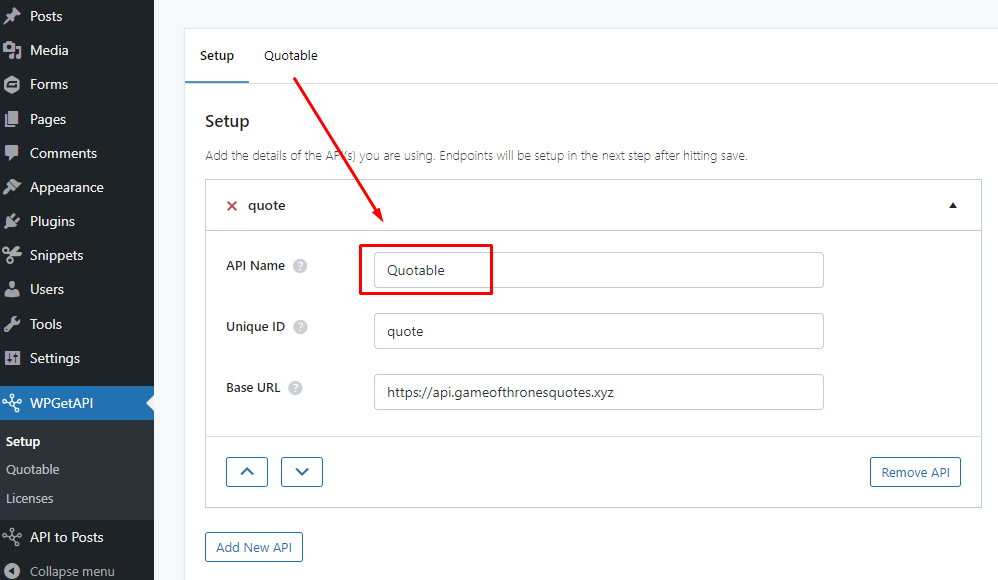
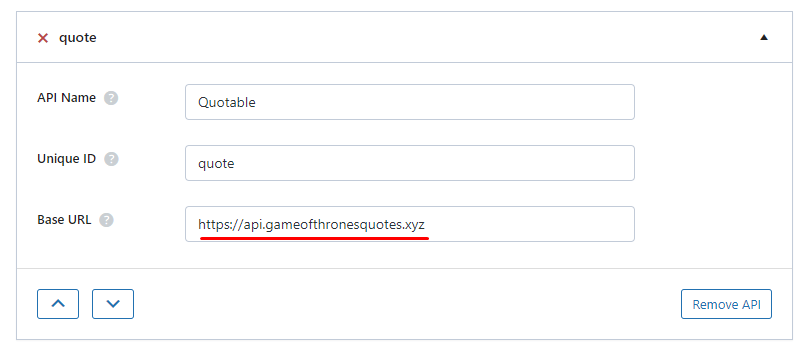
In our example we have named our API Quotable as this is what the creator of the API calls it as we can see in the URL. You could name it Spaghetti Monster if you want, but Quotable makes more sense.
Once the other fields are filled in and we hit Save, a new tab is created at the top of the page with the Name we just added.
Unique ID field
The Unique ID field is used to identify your API when using the shortcode or the template tag. If you are using multiple different API’s, then you must ensure this is ID is indeed unique.
Using the Quotable API again as our example, we have set the Unique ID as quote.
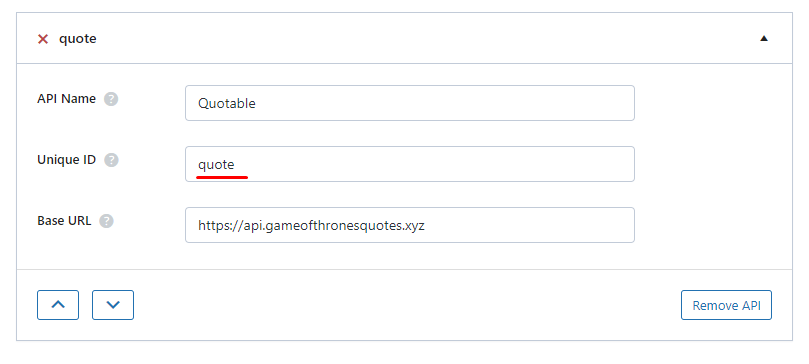
This ID is important as it is then used within the shortcode and template tag to identify each API that we setup.
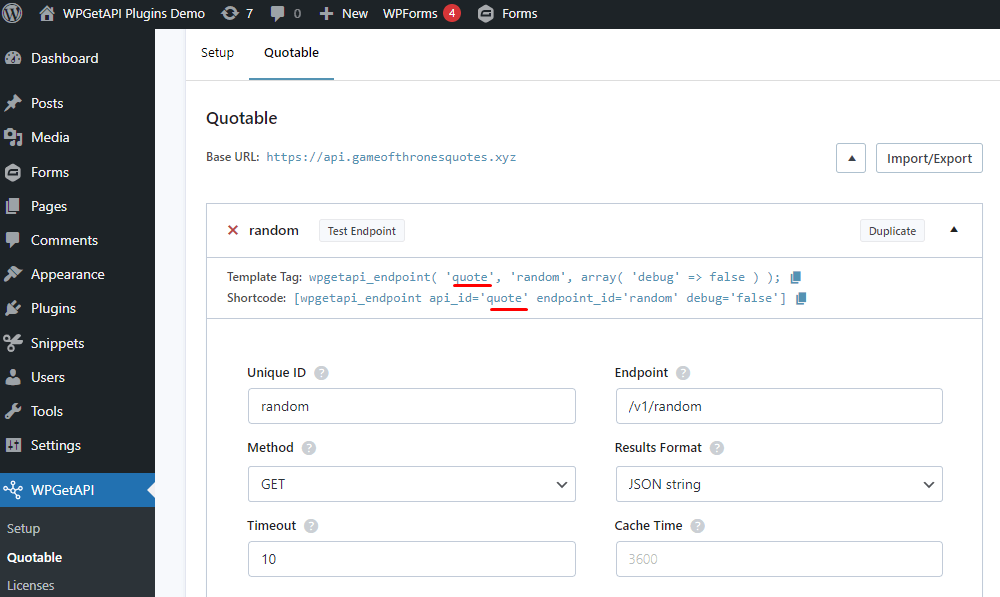
Base URL field
The Base URL field is used to add the API’s base URL which you will be able to find within your API’s documentation.
We use the base URL in this step and then in the next step when adding the endpoints, you can add the individual endpoints which are then appended to this base URL to create the full URL that will be called.
In the Quotable example, a full URL to an endpoint might look like this: https://api.gameofthronesquotes.xyz/v1/random
In this case, https://api.gameofthronesquotes.xyz is the base URL and /v1/random will be the endpoint that we setup within the endpoint settings.
Next Steps
Now that we have the API setup, we need to configure our endpoint(s) within the Endpoint Page.