Skip to content
  • Why WPGetAPI?
  • Examples
  • Pricing
  • Plugins
    • PRO Plugin
    • API to Posts Plugin
    • OAuth 2.0 Plugin
  • Docs
  • Support
    • Frequently Asked Questions
    • Feature Request
    • Support Ticket
  • account_circle
PRO Plugin
Howdy! How can we help you?
  • Introduction

    • Quick Start
    • Frequently Asked Questions
    • Will this work with my API?
    • Understanding API docs
    • Step by Step Example
  • Setup

    • Setup Page
    • Endpoint Page
    • Parameters - Query String
    • Parameters - Headers
    • Parameters - Body POST
    • Shortcode
    • Template Tag
    • Gutenberg Block
  • Connecting your API

    • API Key in Headers
    • API Key in Query String
    • Authentication & Authorization
  • Output API Data

    • Format API to HTML
    • Format API to HTML Table
    • Format API to Image Gallery
    • Format JSON Data
  • Integrations

    • Send form data to API
    • WPForms to API
    • Gravity Forms to API
    • Contact Form 7 to API
    • WooCommerce to API
    • WooCommerce API Product Sync
    • wpDataTables to API
    • Connect WordPress to OpenAI
    • Connect RapidAPI to WordPress
    • Connect Zoho CRM to WordPress
    • Page Builders (Elementor, DIVI)
    • Formidable Forms to API
    • Elementor Form to API
    • JetFormBuilder to API
    • Fluent Forms to API
    • WS Form to API
    • Ninja Tables to API
    • Easy Digital Downloads(EDD) API Product Sync
    • Ultimate Member Forms to API
  • Tips & Tricks

    • Filters & Action Hooks
    • Code Snippets Plugin
    • Troubleshooting
    • Code Snippets
  • PRO Plugin

    • Installation
    • Actions
    • Tokens
    • Caching
    • Nested data
    • Chaining API calls
    • Dynamic Variables
    • Format API to HTML
    • Call API on user registration
    • Using AJAX to trigger API call
    • Base64 Encoding
    • Licensing
    • Filters & Action Hooks
  • OAuth 2.0 Plugin

    • Installation
    • How it works
    • Grant Type - Client Credentials
    • Grant Type - Authorization Code
    • Licensing
  • API to Posts Plugin

    • Installation
    • Getting Started
    • Multiple Endpoints
    • Mapping Fields
    • Filters & Action Hooks
    • Pagination

Step 1

Download the plugin zip file by clicking on the link within the email you received after purchasing, or from the purchase confirmation page, or Account page.

Step 2

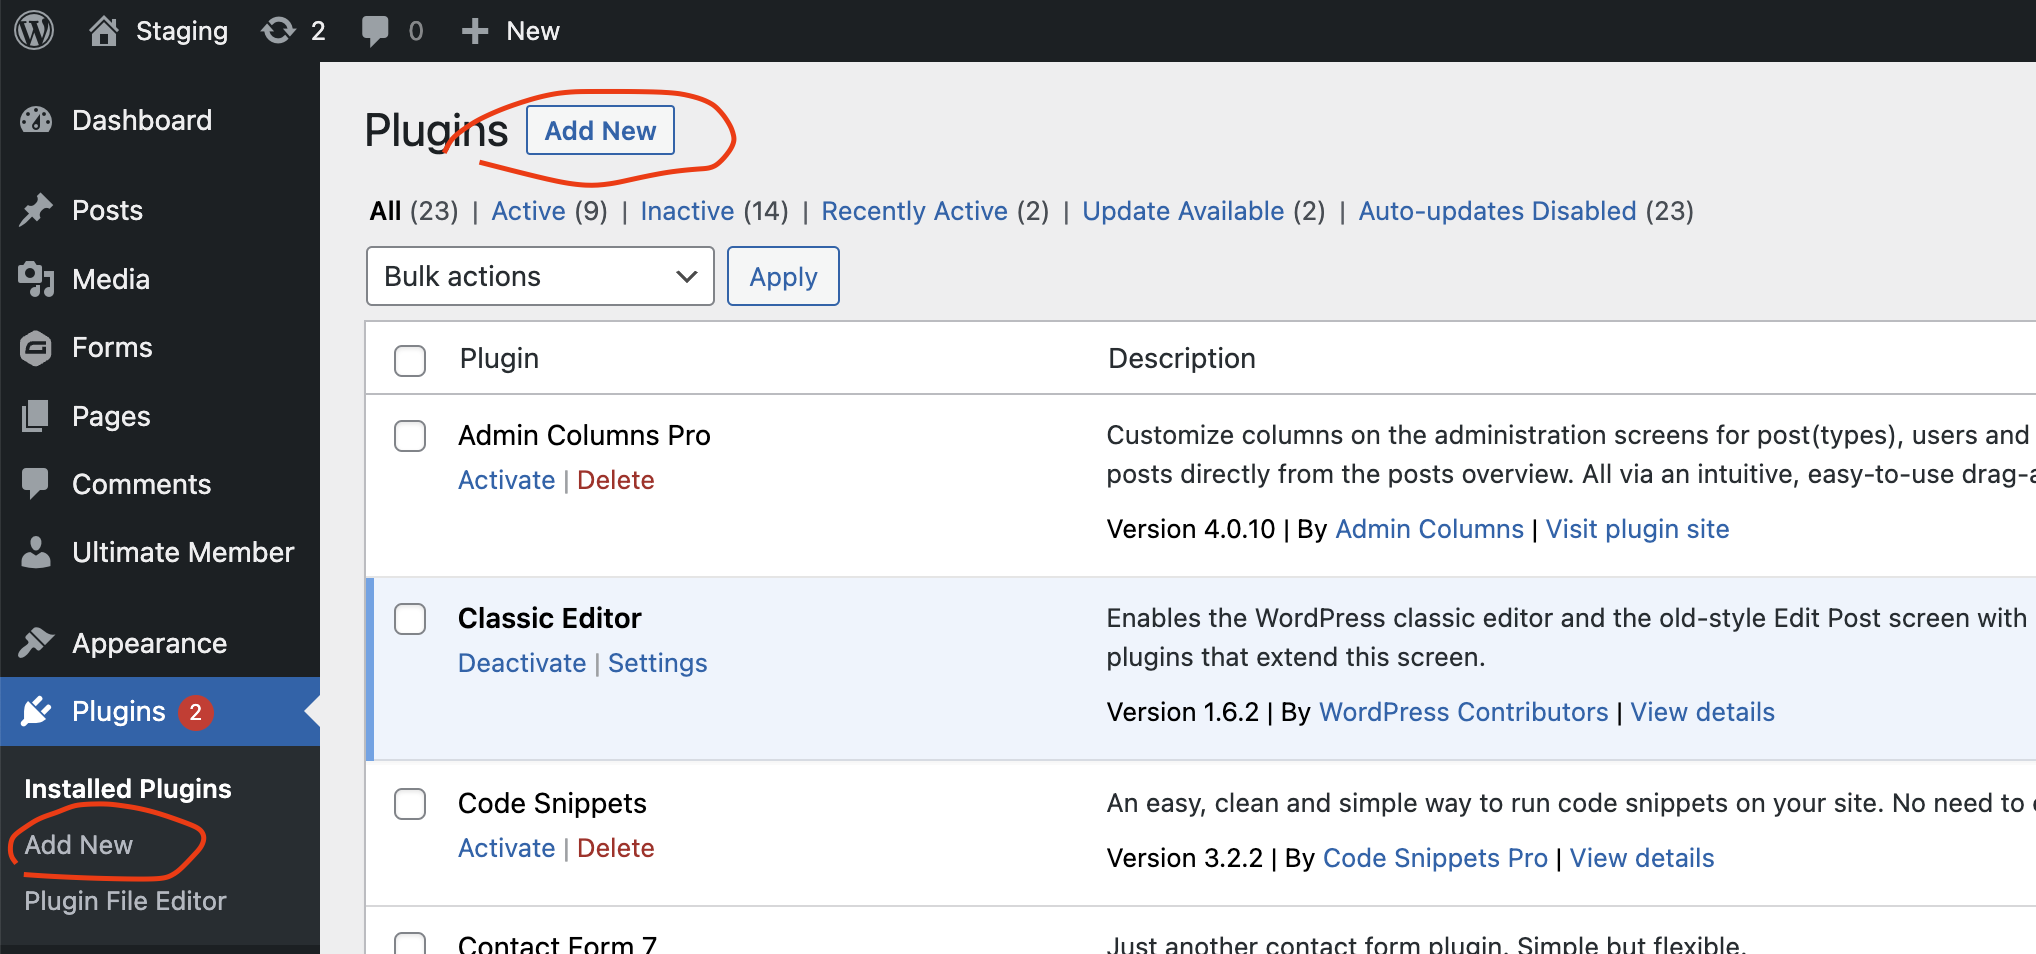
Visit your WordPress admin area and click on Plugins > Add New

Step 3

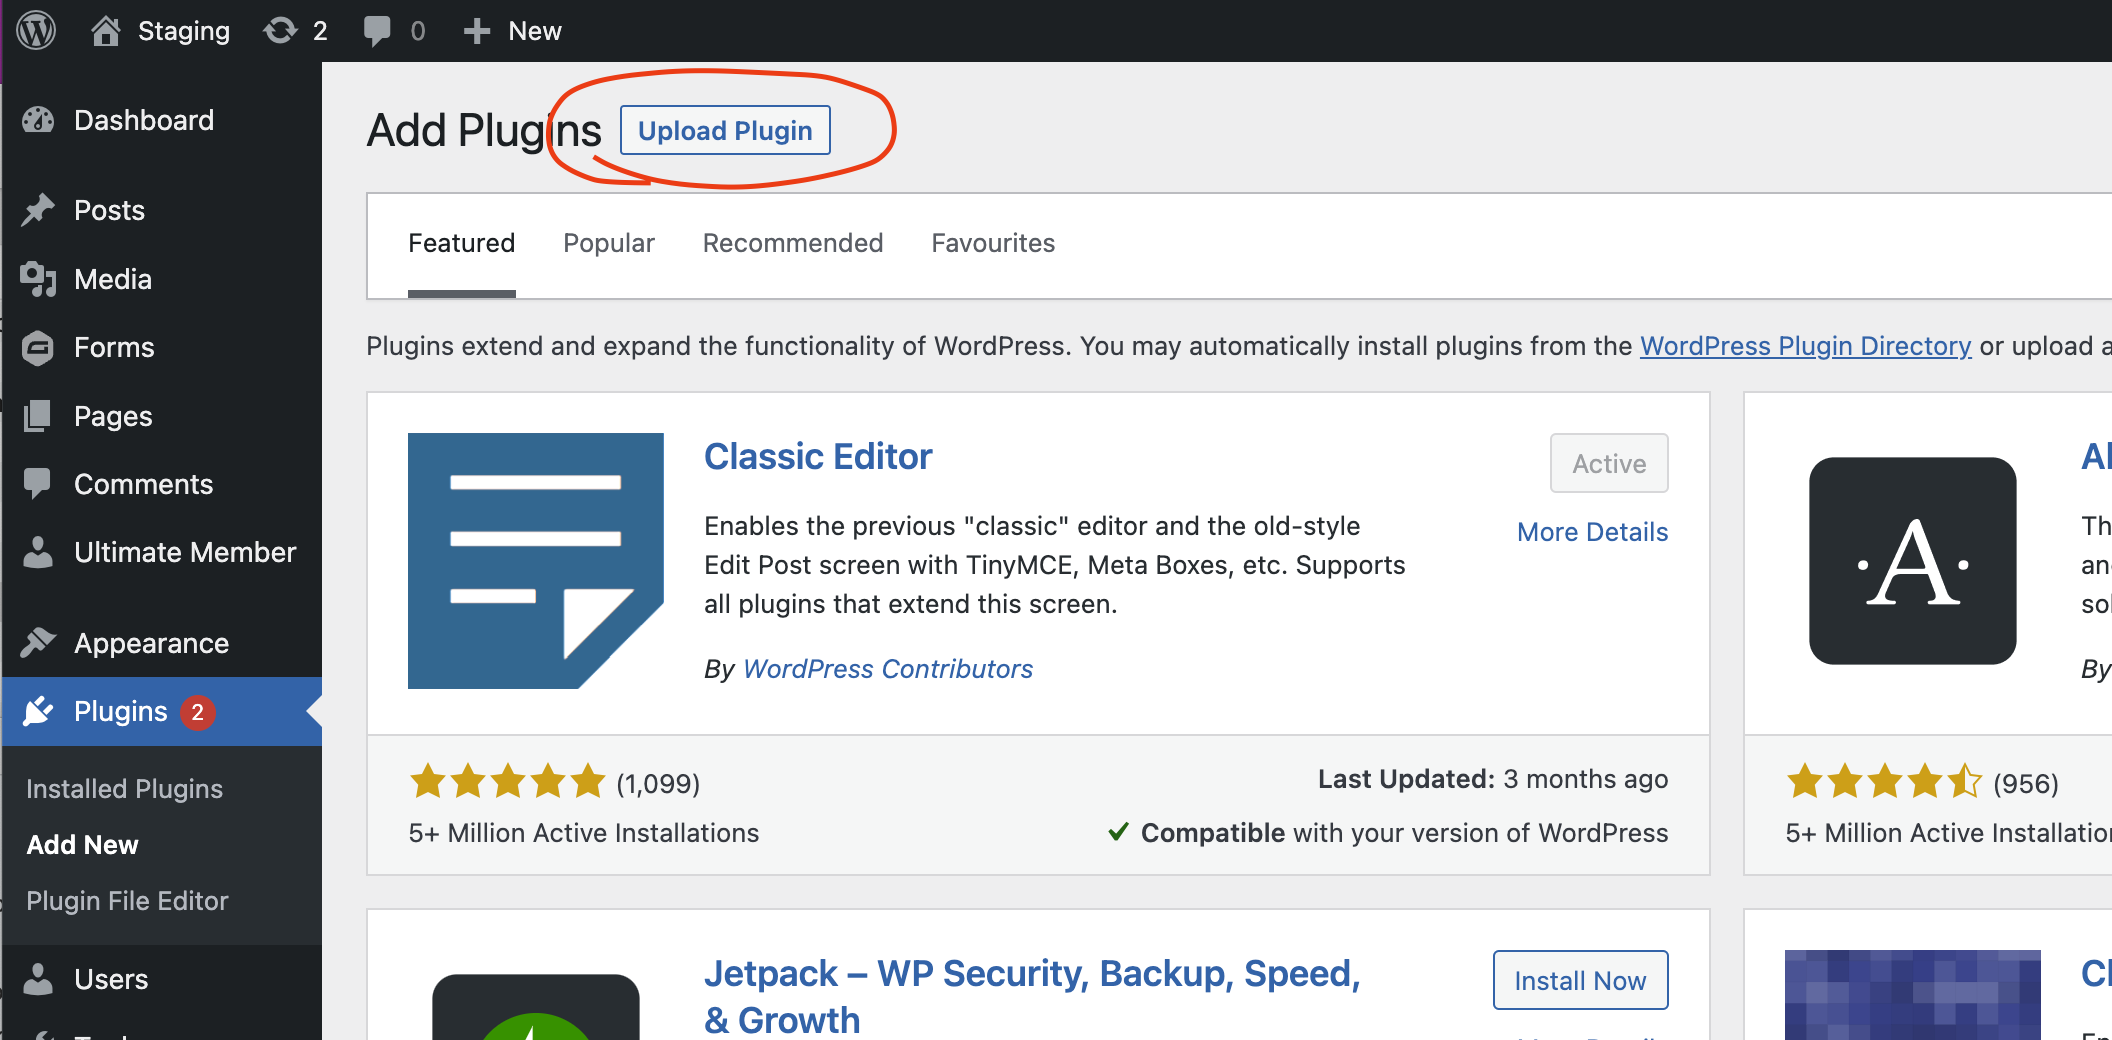
Click on the Upload Plugin button.

Step 4

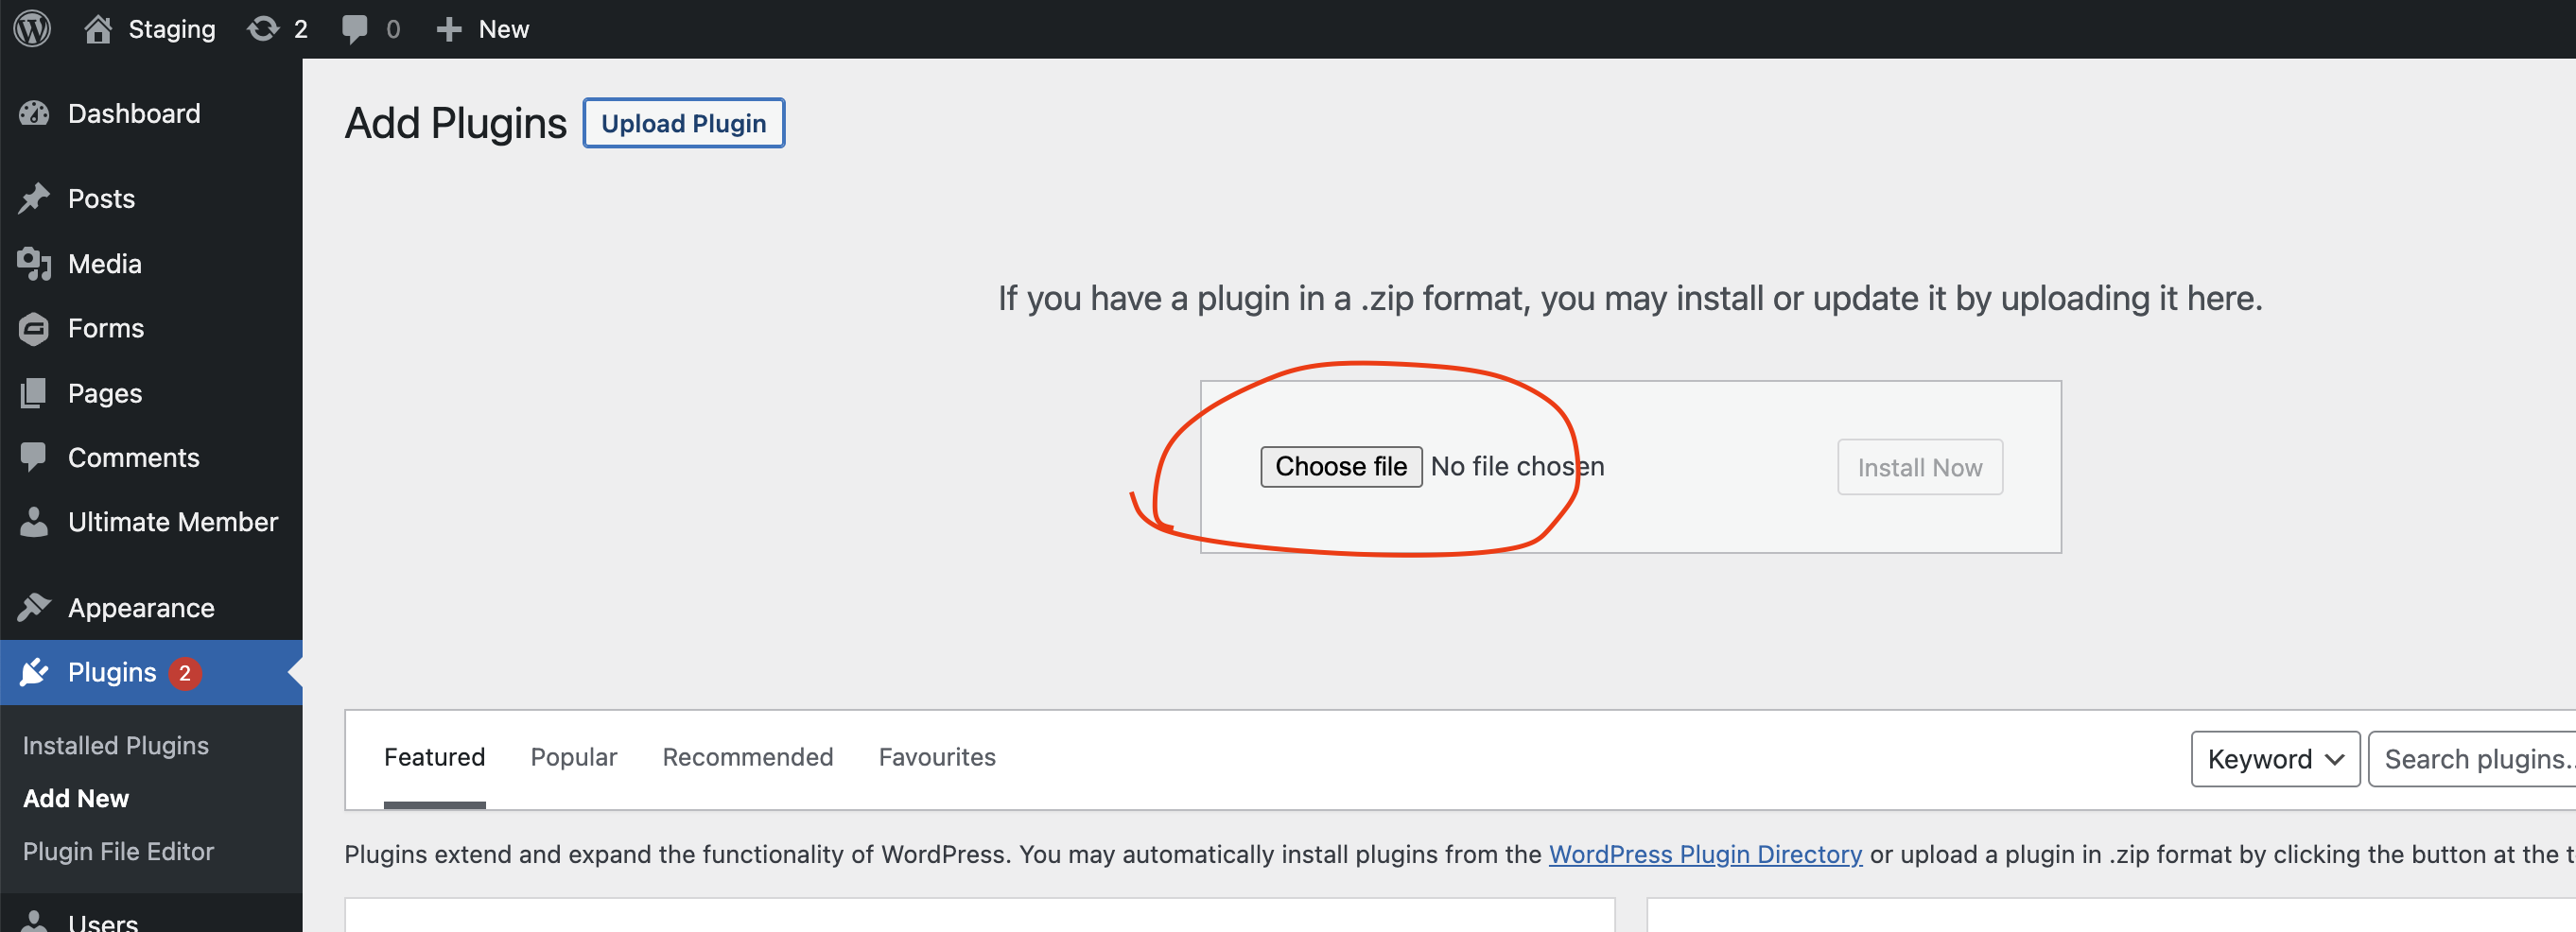
Click on the Choose file button that appears and select the zip file that you downloaded. Now click on the Install Now button.

Step 5

Once the installation is complete, click on the Activate button and that’s it. Your plugin is now installed.

Step 6

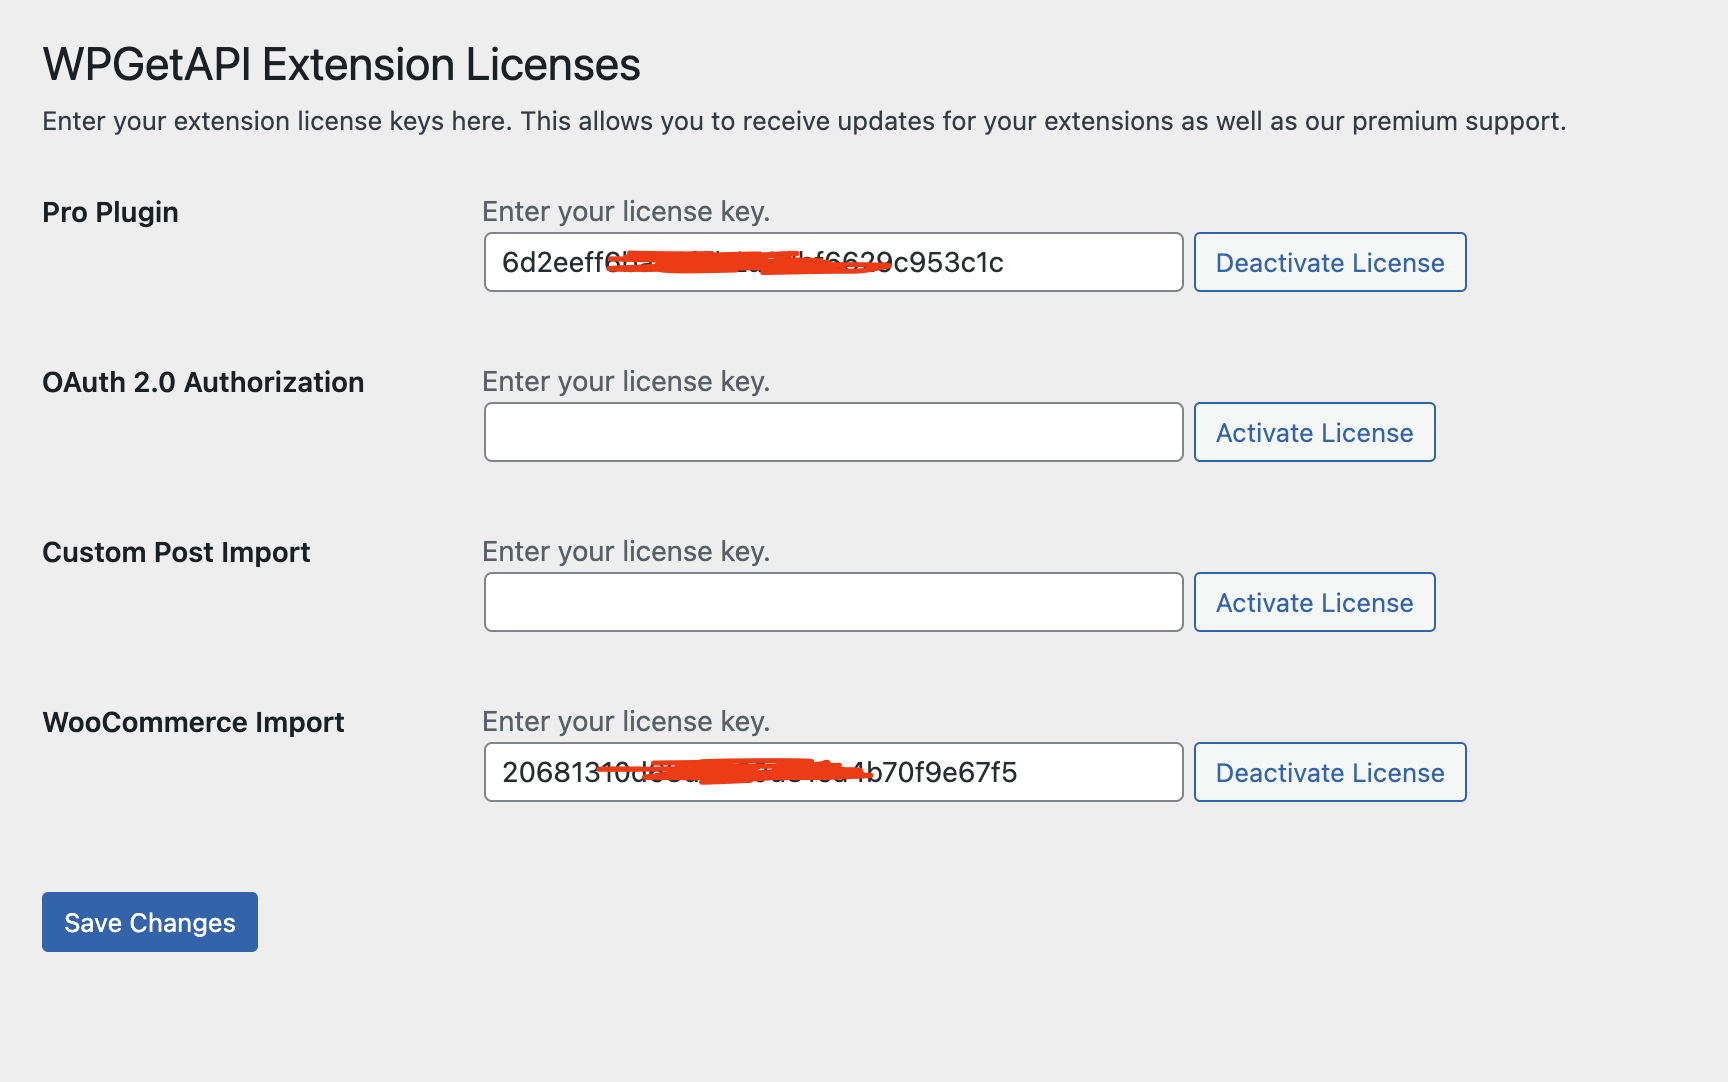
To add your license key, go to the WPGetAPI menu and click on Licenses. You can copy your license key from the email you received or from the purchase confirmation page.

You can also refer to the Quick Start Guide for the installation process.

On this page

Unlock amazing features with the PRO Plugin

The PRO Plugin takes your API integrations to the next level.

  View Pro Plugin
contact_support

Still not sure?

APIs can be daunting and sometimes downright confusing.

But we are here to help! Our support is amazing and we can assist you with any setup required and ensure your API integrations are a success!

Ask Us Anything

Connect your WordPress website to external APIs without writing a single line of code. Send data from WordPress to your API or display data from your API within WordPress.

Support

  • Documentation
  • Support Ticket
  • Refund Policy
  • Contact Us
  • About Us
  • Affiliates

Articles

  • Quick Start Guide
  • WooCommerce Orders to API
  • WooCommerce API Products Sync
  • Contact Form 7 to API
  • WPForms to API
  • Gravity Forms to API
  • WordPress to RapidAPI

WordPress API Plugins

  • Free WPGetAPI Plugin
  • PRO Plugin
  • API to Posts Plugin Plugin
  • OAuth 2.0 Authorization Plugin

© 2025 WPGetAPI. All Rights Reserved.

"*" indicates required fields

Name*
This field is for validation purposes and should be left unchanged.