Your API will likely return data in JSON string format, which looks something like the below.

To format a JSON string, there are several different options. Which one you choose will depend on several things including:
- the complexity of the data
- the format you wish to display it in
- code vs no-code options
So let’s take a brief look at the options we have available to format the JSON data.
Option 1 – Using Code Snippets plugin
This option does require some coding knowledge but can give a good balance between being able to grab the pieces of data we need from the JSON string, whilst also not needing to edit any theme files. It is a safe way to do some coding without any fear of messing anything up.
The way this option will work is like so:
- Set the Results Format to PHP array data
- Install Code Snippets plugin
- Add template tag into a code snippet & write simple code snippet
- Display this data with the Code Snippets shortcode
1. Set Results Format to PHP array data
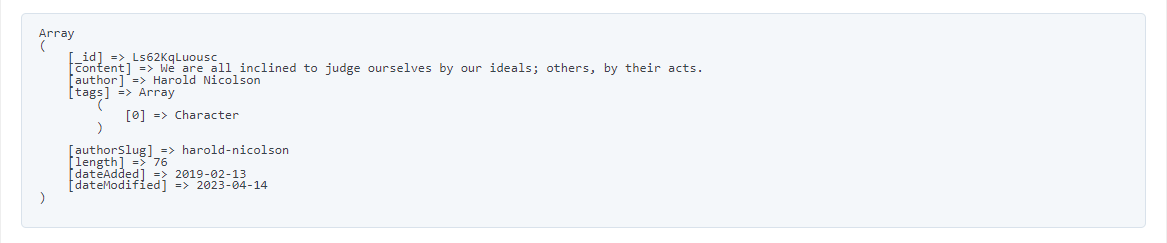
Within the admin section for the endpoint you are using, set the Results Format to PHP array data as shown below. This converts the JSON string into PHP data that will now become usable in the Code Snippets plugin.

This will turn our JSON string data into something that looks more like the below, which is still no good for display, but we can work with this format more easily.
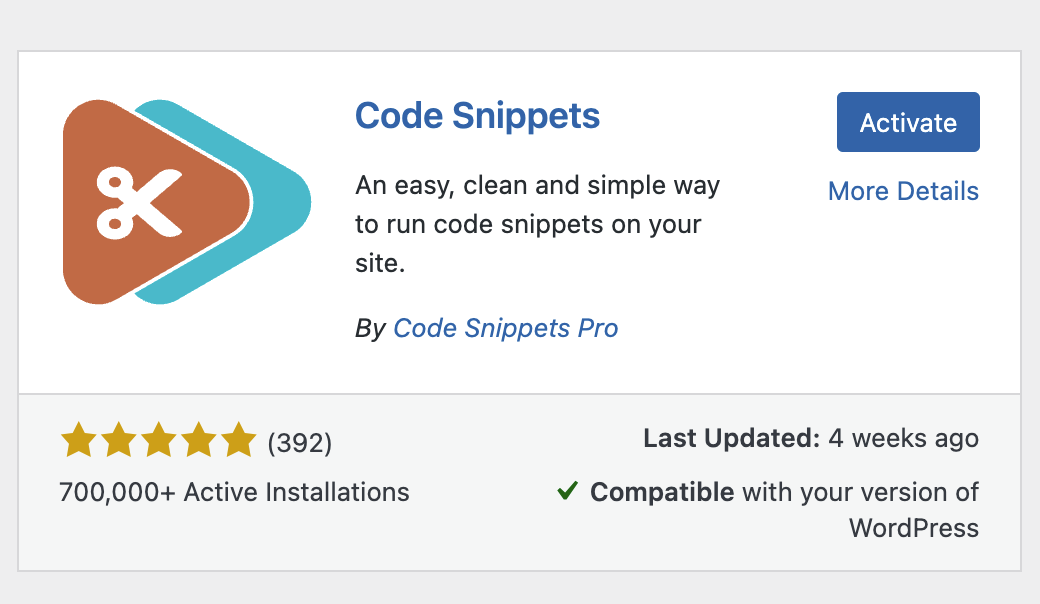
2. Install Code Snippets plugin
Firstly we will need to install the Code Snippets plugin. You can search for ‘code snippets’ in the Add Plugins screen and it will look like the below image.
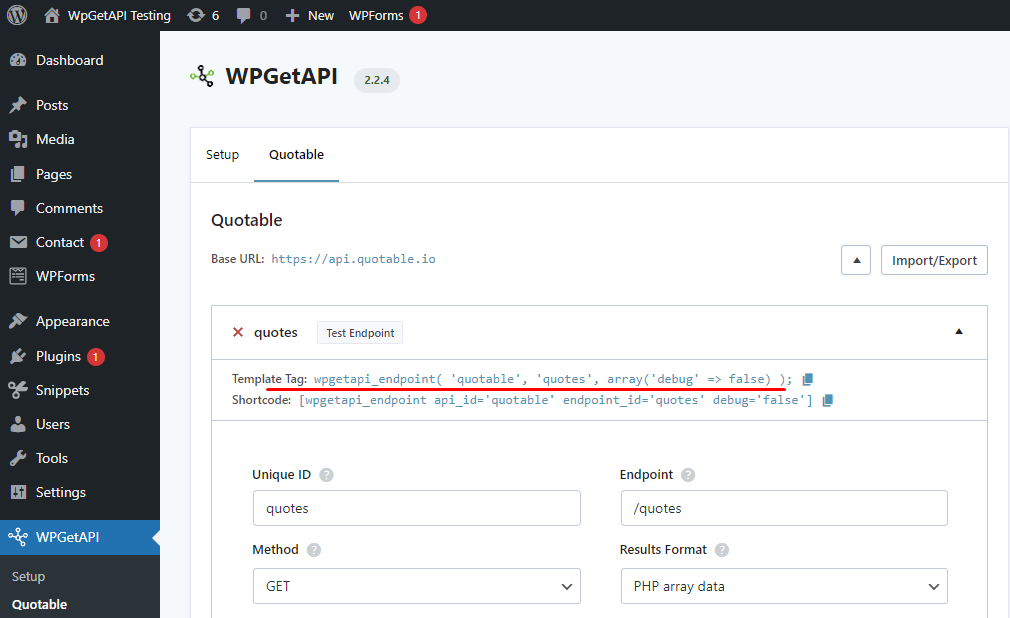
3. Add template tag & write code snippet
We want to now grab our template tag for the endpoint we are using. The template tag can be found just above our endpoint in the admin area.
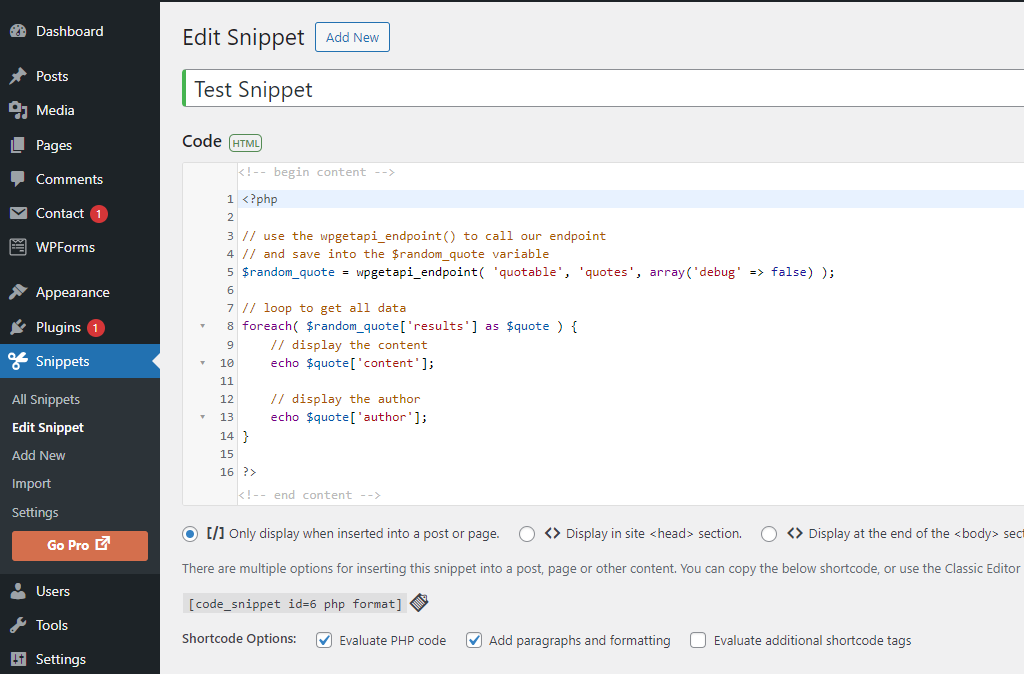
We then need to add a new code snippet via the Snippets menu as shown below. Our code snippet should be of the HTML type and the checkbox for Evaluate PHP code must be checked.
In the snippet, we are grabbing the content and the author and we are ‘echoing’ both of these. Which simply means to display them.
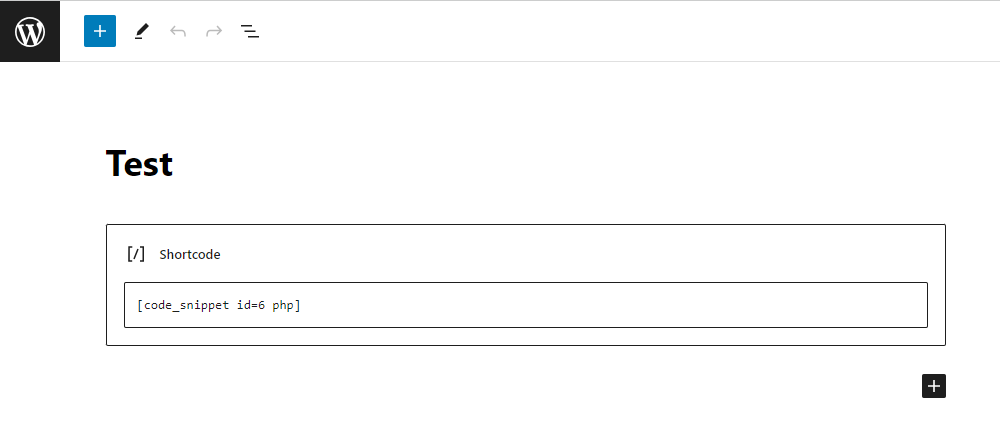
4. Display with the Code Snippets shortcode
Now we just need to copy the shortcode from above and paste into our page or post.
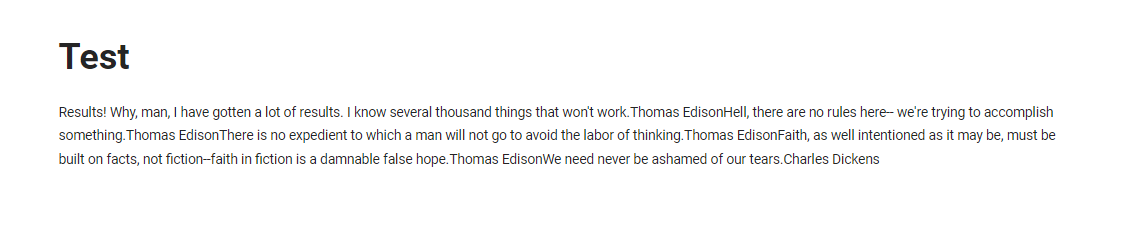
The results are below.
Option 2 – Using Pro Plugin with the shortcode
This is a paid option using our Pro Plugin, but can work very well depending on the data that your API is returning.
This option is also extremely simple as you just need to add a new attribute to your shortcode like below:
[wpgetapi_endpoint api_id='quotable' endpoint_id='random' format='html' html_tag='div' html_labels='false']
See the full tutorial on formatting API data into HTML.