In this article, we will look at how easy it is to sync Shopify products to WooCommerce products.
Before you begin
This method supports syncing WooCommerce Simple products only.
Requirements
- A Shopify Partners account
- Shopify Store account
- Free WPGetAPI plugin
- WooCommerce plugin
- Premium plugins – API to Posts plugin & OAuth 2.0 plugin
Getting Started
We will connect to the Shopify API to retrieve product data.
- The docs for setting up the Shopify OAuth 2.0 authorization is here.
- The docs for the Shopify product endpoint can be found here.
Step 1 – Register an application
The first step in any OAuth 2.0 authorization process is to register an app, which may also be referred to as registering a client.
Here is a link to the Shopify Partners account, where you will be asked to log in or register. Once logged in, click on Apps, then click on the Create app button.
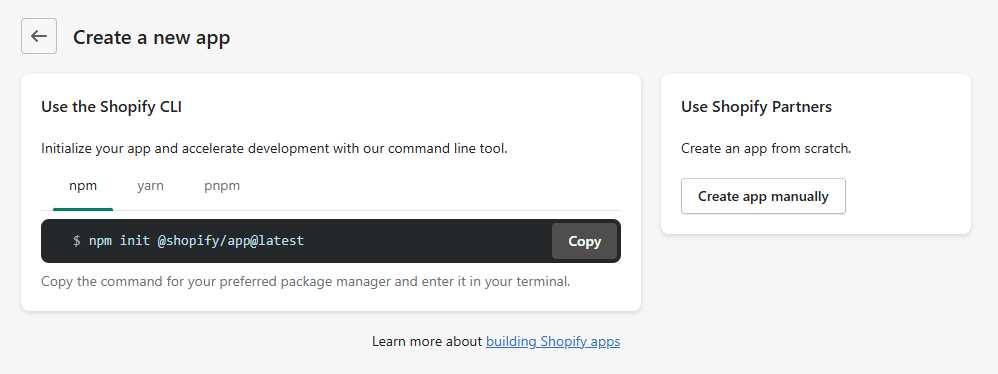
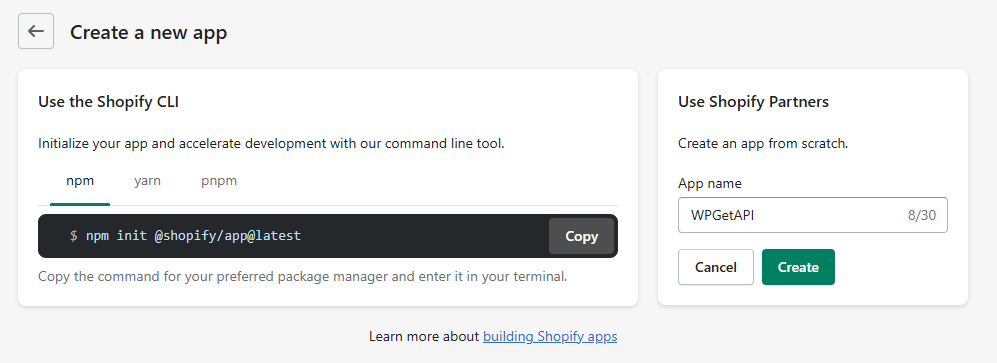
Next, click on the Create app manually button, enter the App name, and click the Create button.
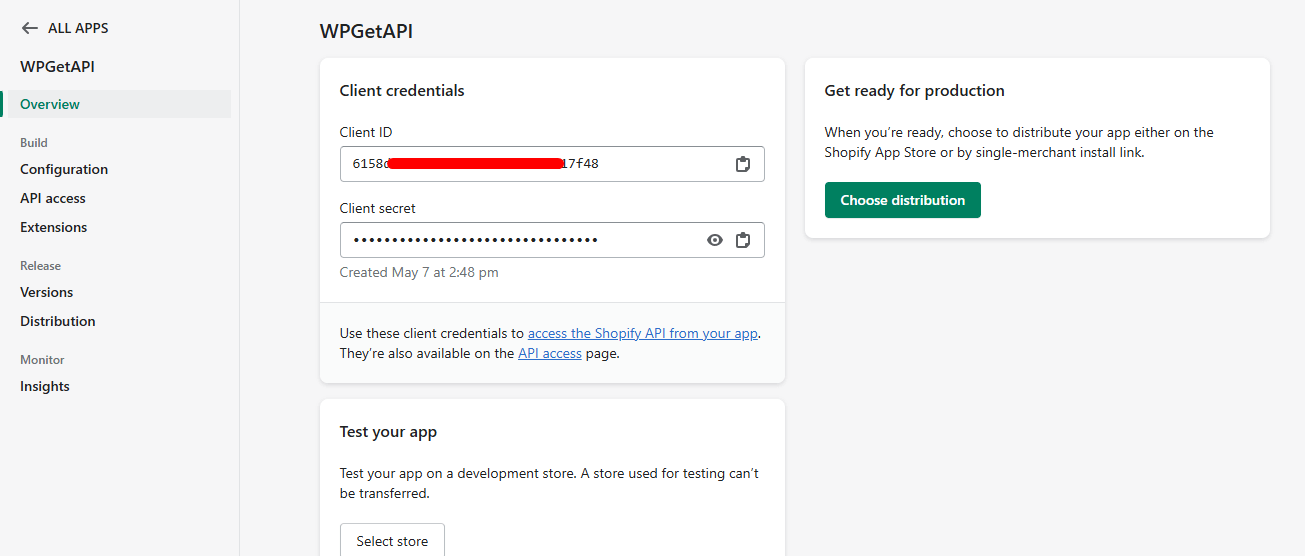
After clicking Create, you will receive the Client ID and Client Secret, which will be used in the next step.
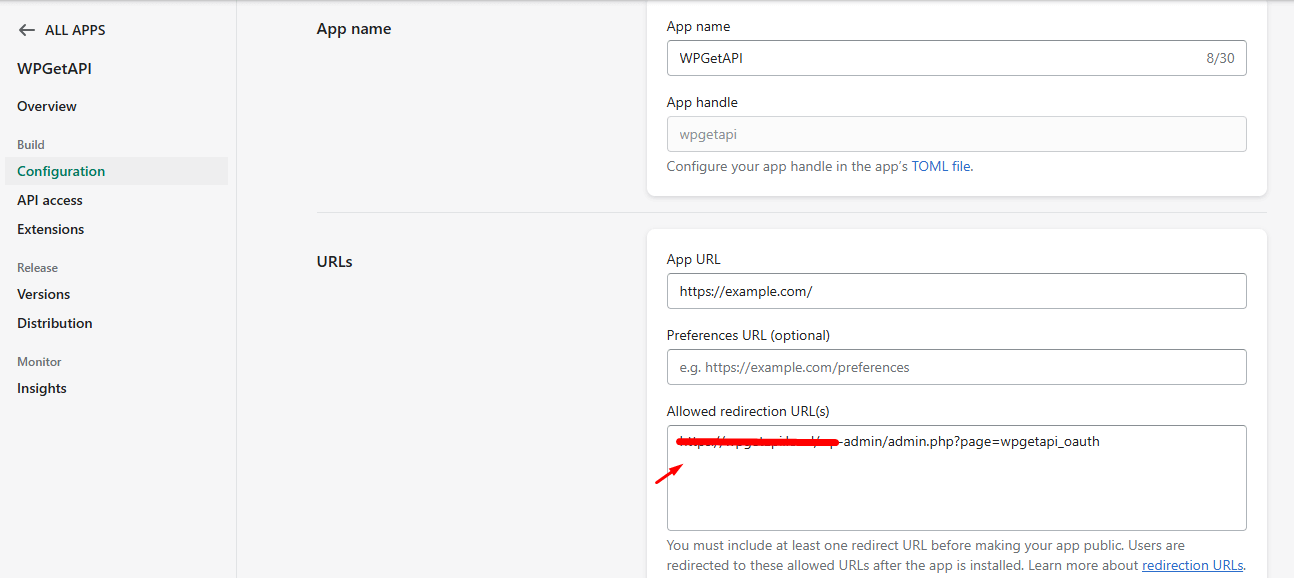
Navigate to the Configuration section and enter the Redirect URL, which should be: https://YOURWEBSITE/wp-admin/admin.php?page=wpgetapi_oauth – Replace YOURWEBSITE with your actual website URL.
Step 2 – Configure settings in WPGetAPI
We now need to add our app details and some Shopify API details to the OAuth 2.0 settings page within the WordPress admin. The page looks similar to the image below.
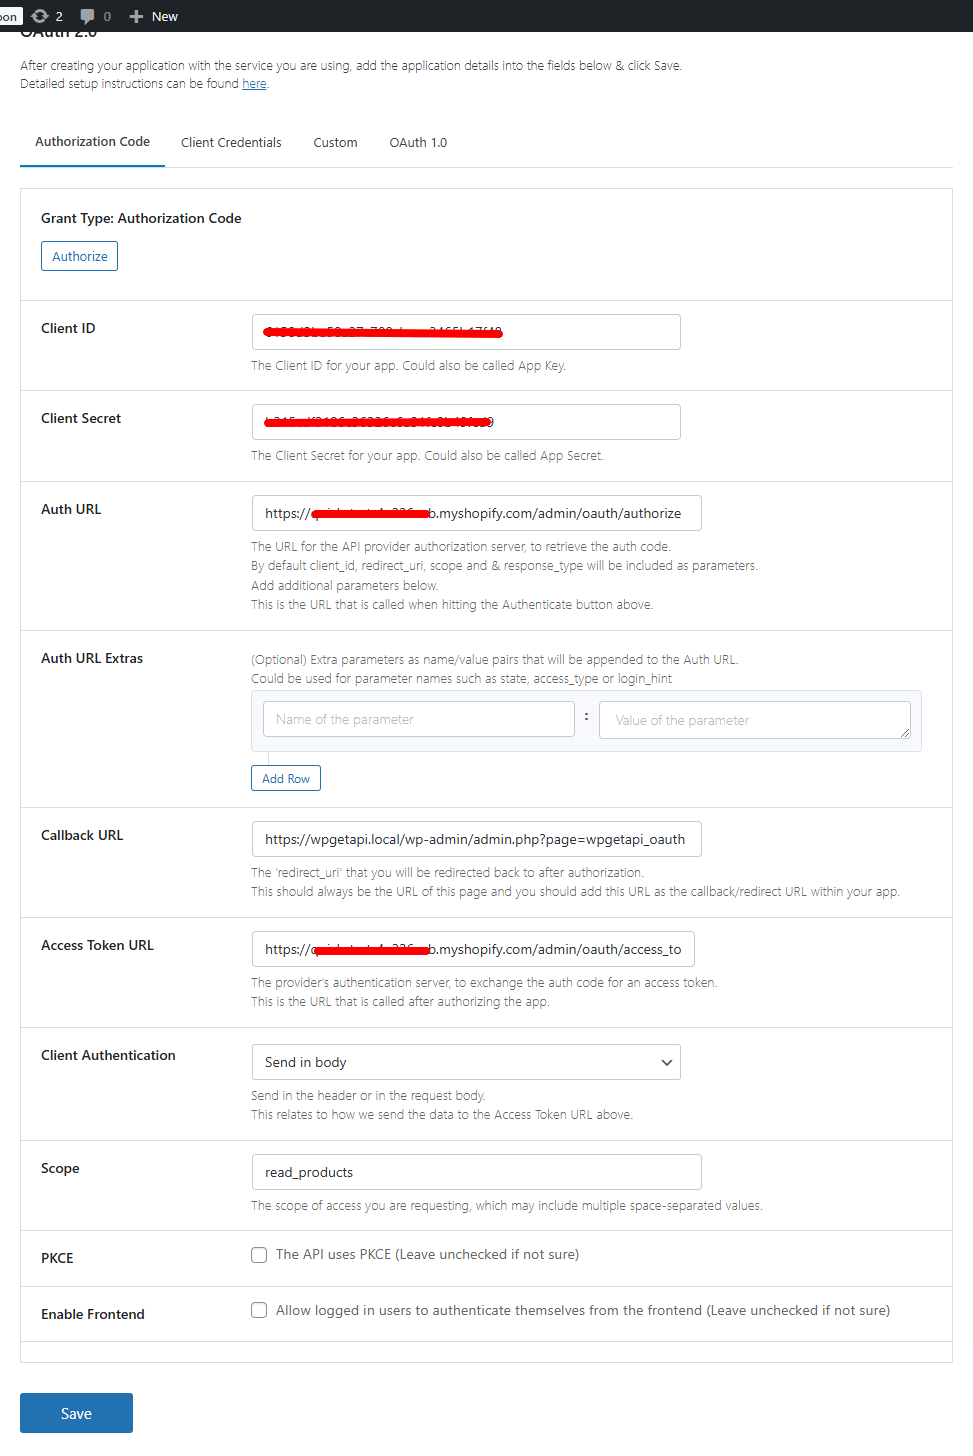
The fields are:
- Client ID – Client ID from our app.
- Client Secret – Client Secret from our app.
- Auth URL – For Shopify, Auth URL is https://{shop}.myshopify.com/admin/oauth/authorize. {shop} is a name of the user’s shop.
- Access Token URL – Access Token URL is https://{shop}.myshopify.com/admin/oauth/access_token.
- Client Authentication – Shopify will send data in body.
- Scope – We just want to be get products data, So it will be ‘read_products‘. You can get more scope details here.
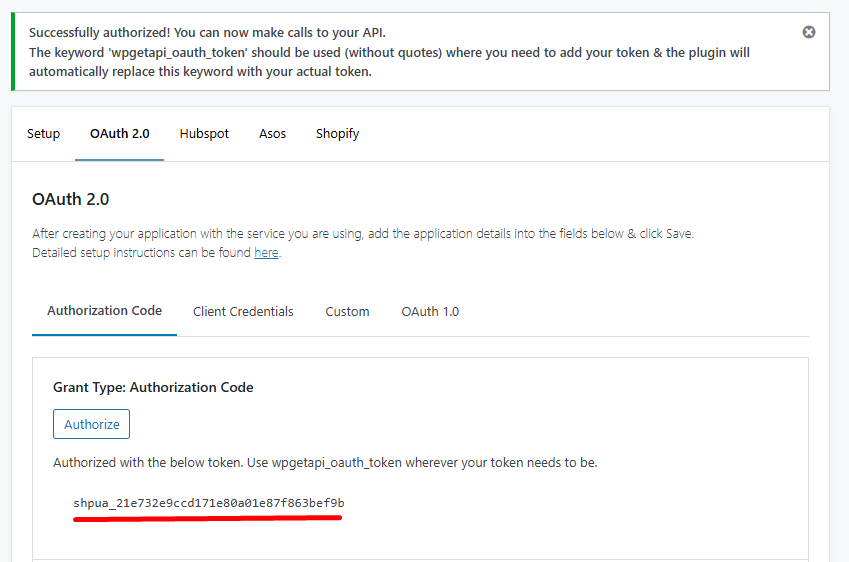
Once our details are saved, the Authorize button will become active. Click on the button to be redirected to Shopify, where you will need to log in and complete the authorization steps.

Our app is now authorized, and we can make an API call to the endpoint to retrieve data.
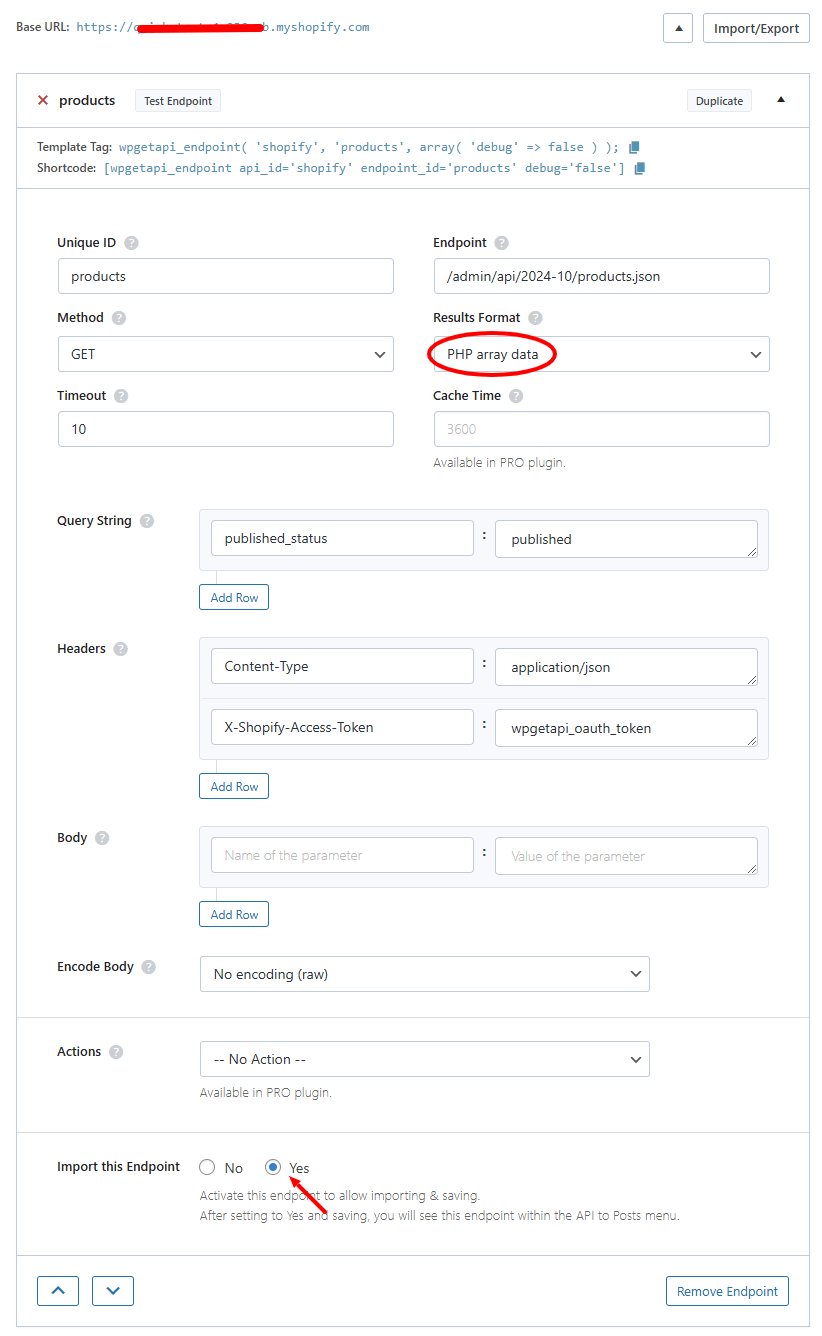
Step 3 – Setup API & endpoint
We now need to add the endpoint from which we want to retrieve product data.
This is the Shopify API settings required:
Step 4 – Setup API to Posts
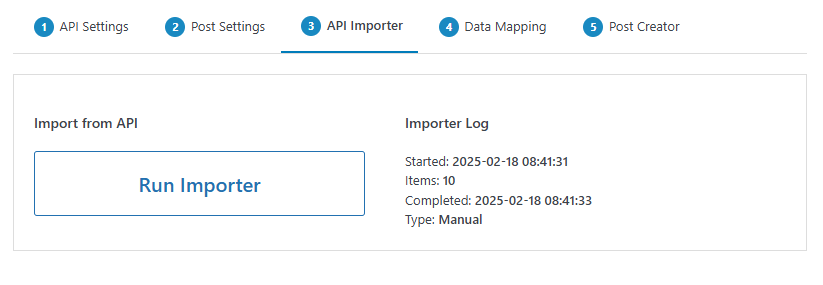
Navigate to the API to Posts menu in your WordPress sidebar, where you will see the endpoints you have created.
Click on an endpoint to begin the setup.
To create WooCommerce products, follow these simple steps:
- configure how the API data will be imported
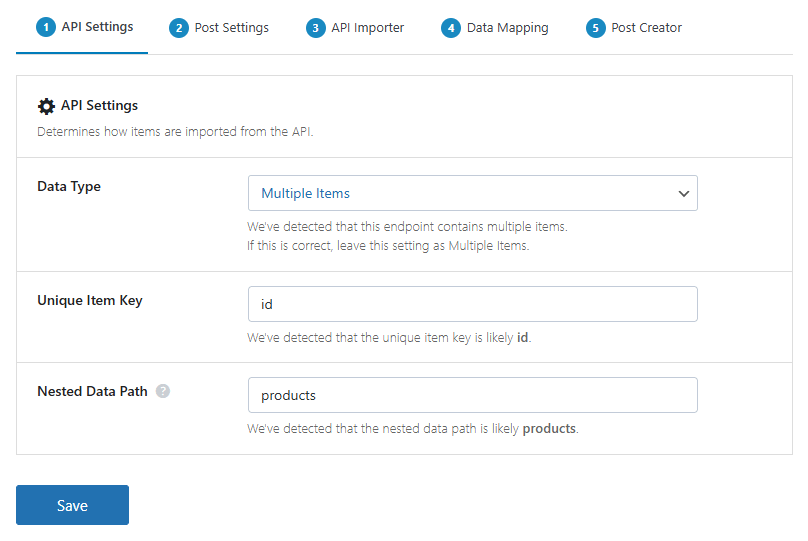
- select ‘Product’ as the post type
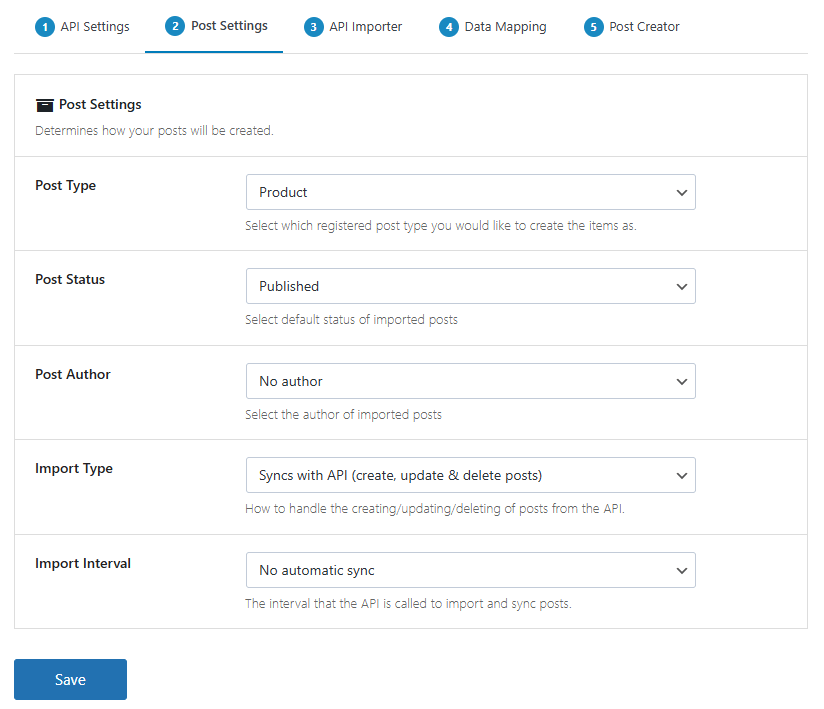
- run the ‘API Importer’
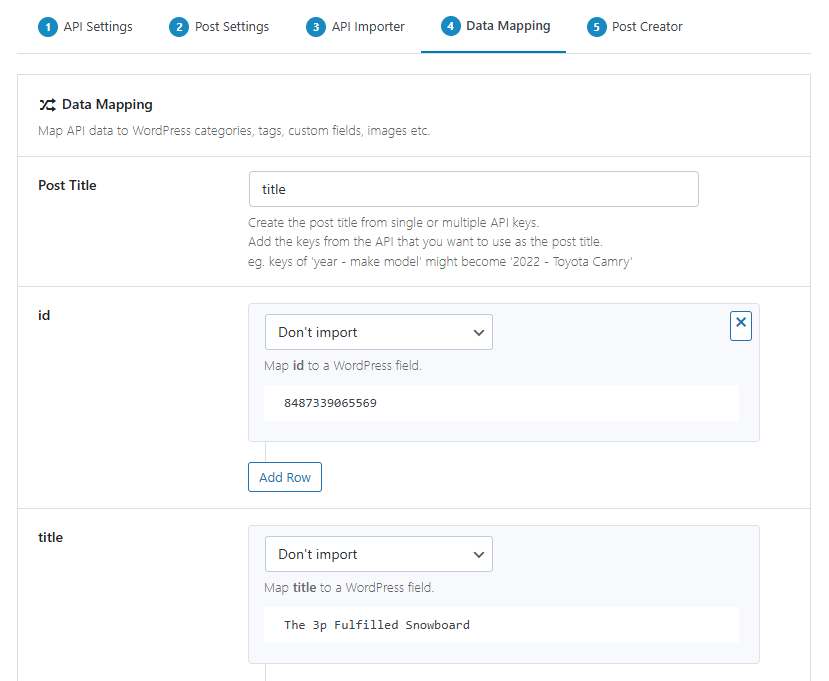
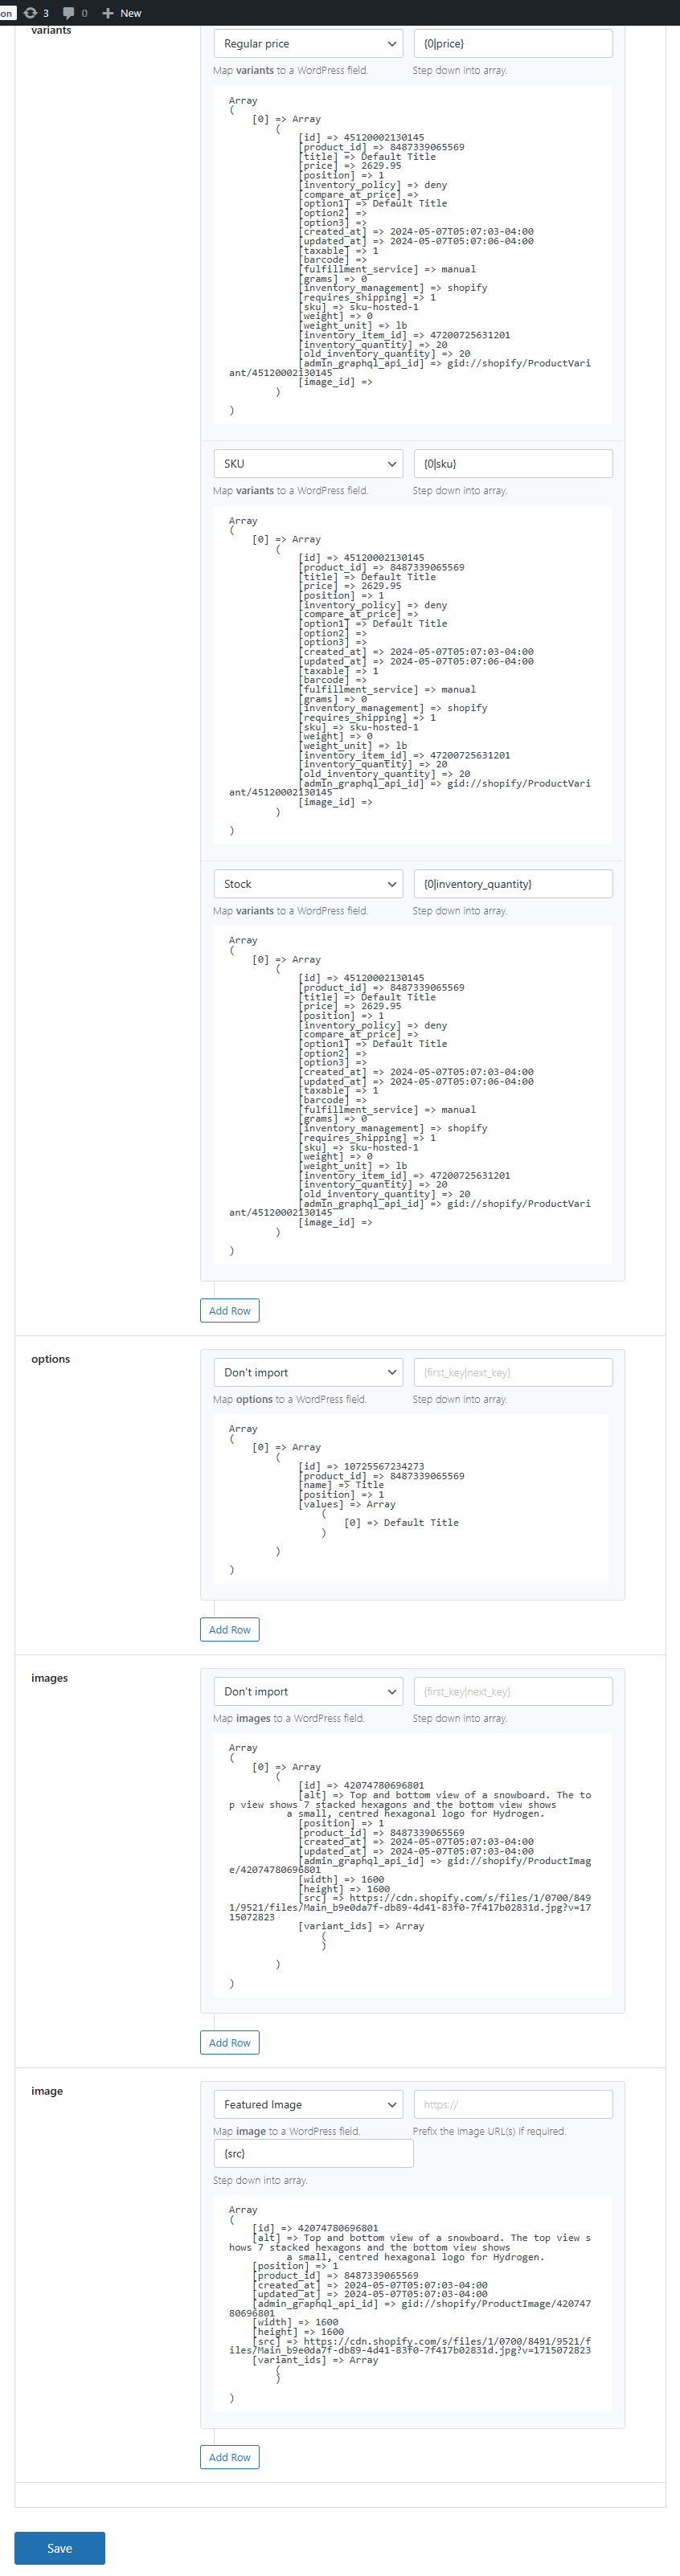
- map the API data to the product fields
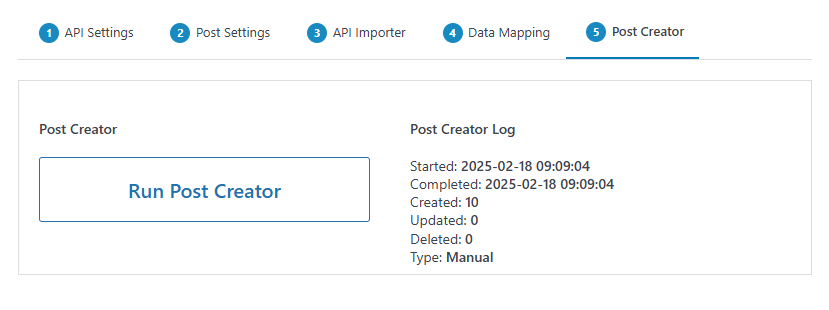
- run the ‘Post Creator’
That’s it, you will now have WooCommerce products created from API data. You can map API data to custom fields and all standard WooCommerce fields, meaning it is a breeze to set the price, SKU, categories, tags, featured image, gallery images, dimensions, weight and more.
Sync API to WooCommerce products
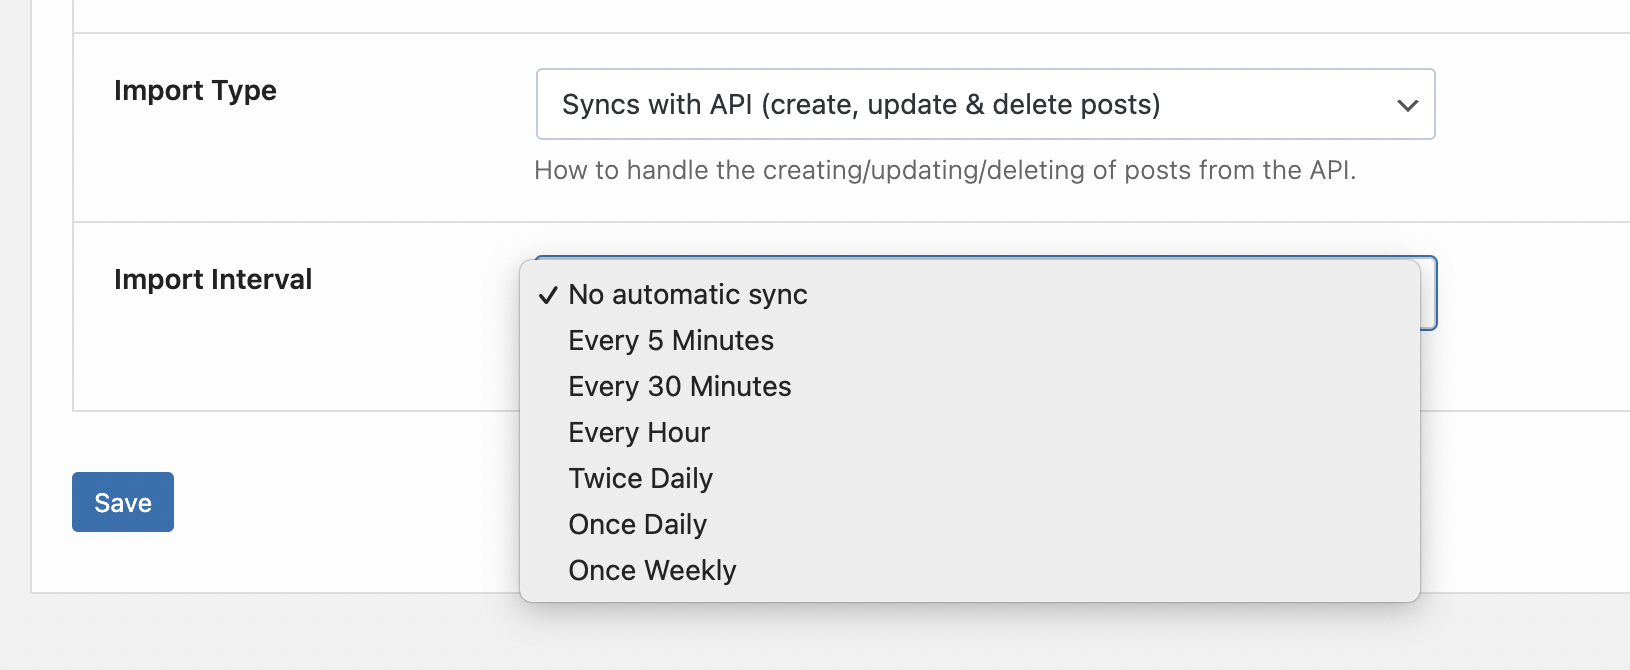
We’ve manually ran the ‘Post Creator’ which creates the products initially. Within the settings there is an option to run the syncing process in the background at your chosen interval, which keeps your WooCommerce products in sync with the API.
Simply set the interval such as 5 Minutes up to Once Weekly and the whole import and product creation process will run at that interval in the background, keeping your products perfectly synced. This is perfect for keeping stock levels and pricing up to date.
Going further
Check out the full tutorial with a step-by-step guide here. This article runs through the exact process of creating WooCommerce products from an Shopify API.