This is a quick overview of how to set up the WPGetAPI plugin.
Step 1: Install WPGetAPI
Installing WPGetAPI Free
1. First, log in to your WordPress admin dashboard.
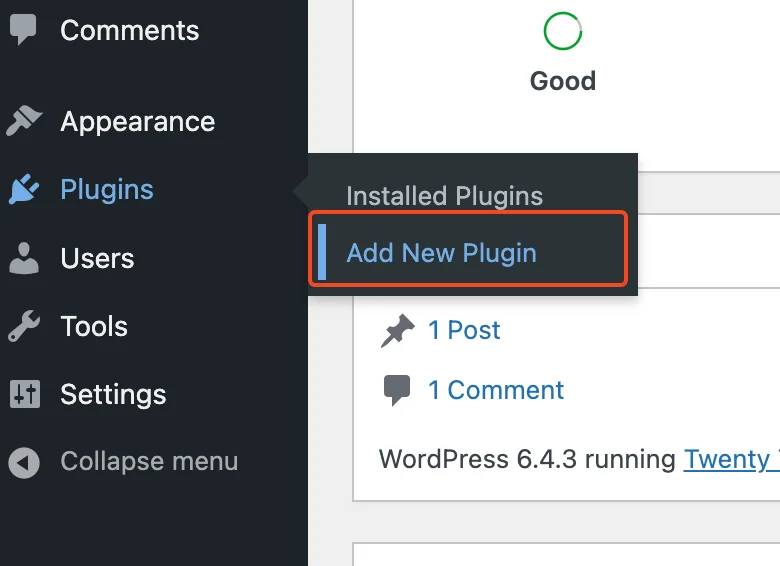
2. Access the Plugins section from the left-hand menu on your WordPress dashboard and click Add New Plugin.
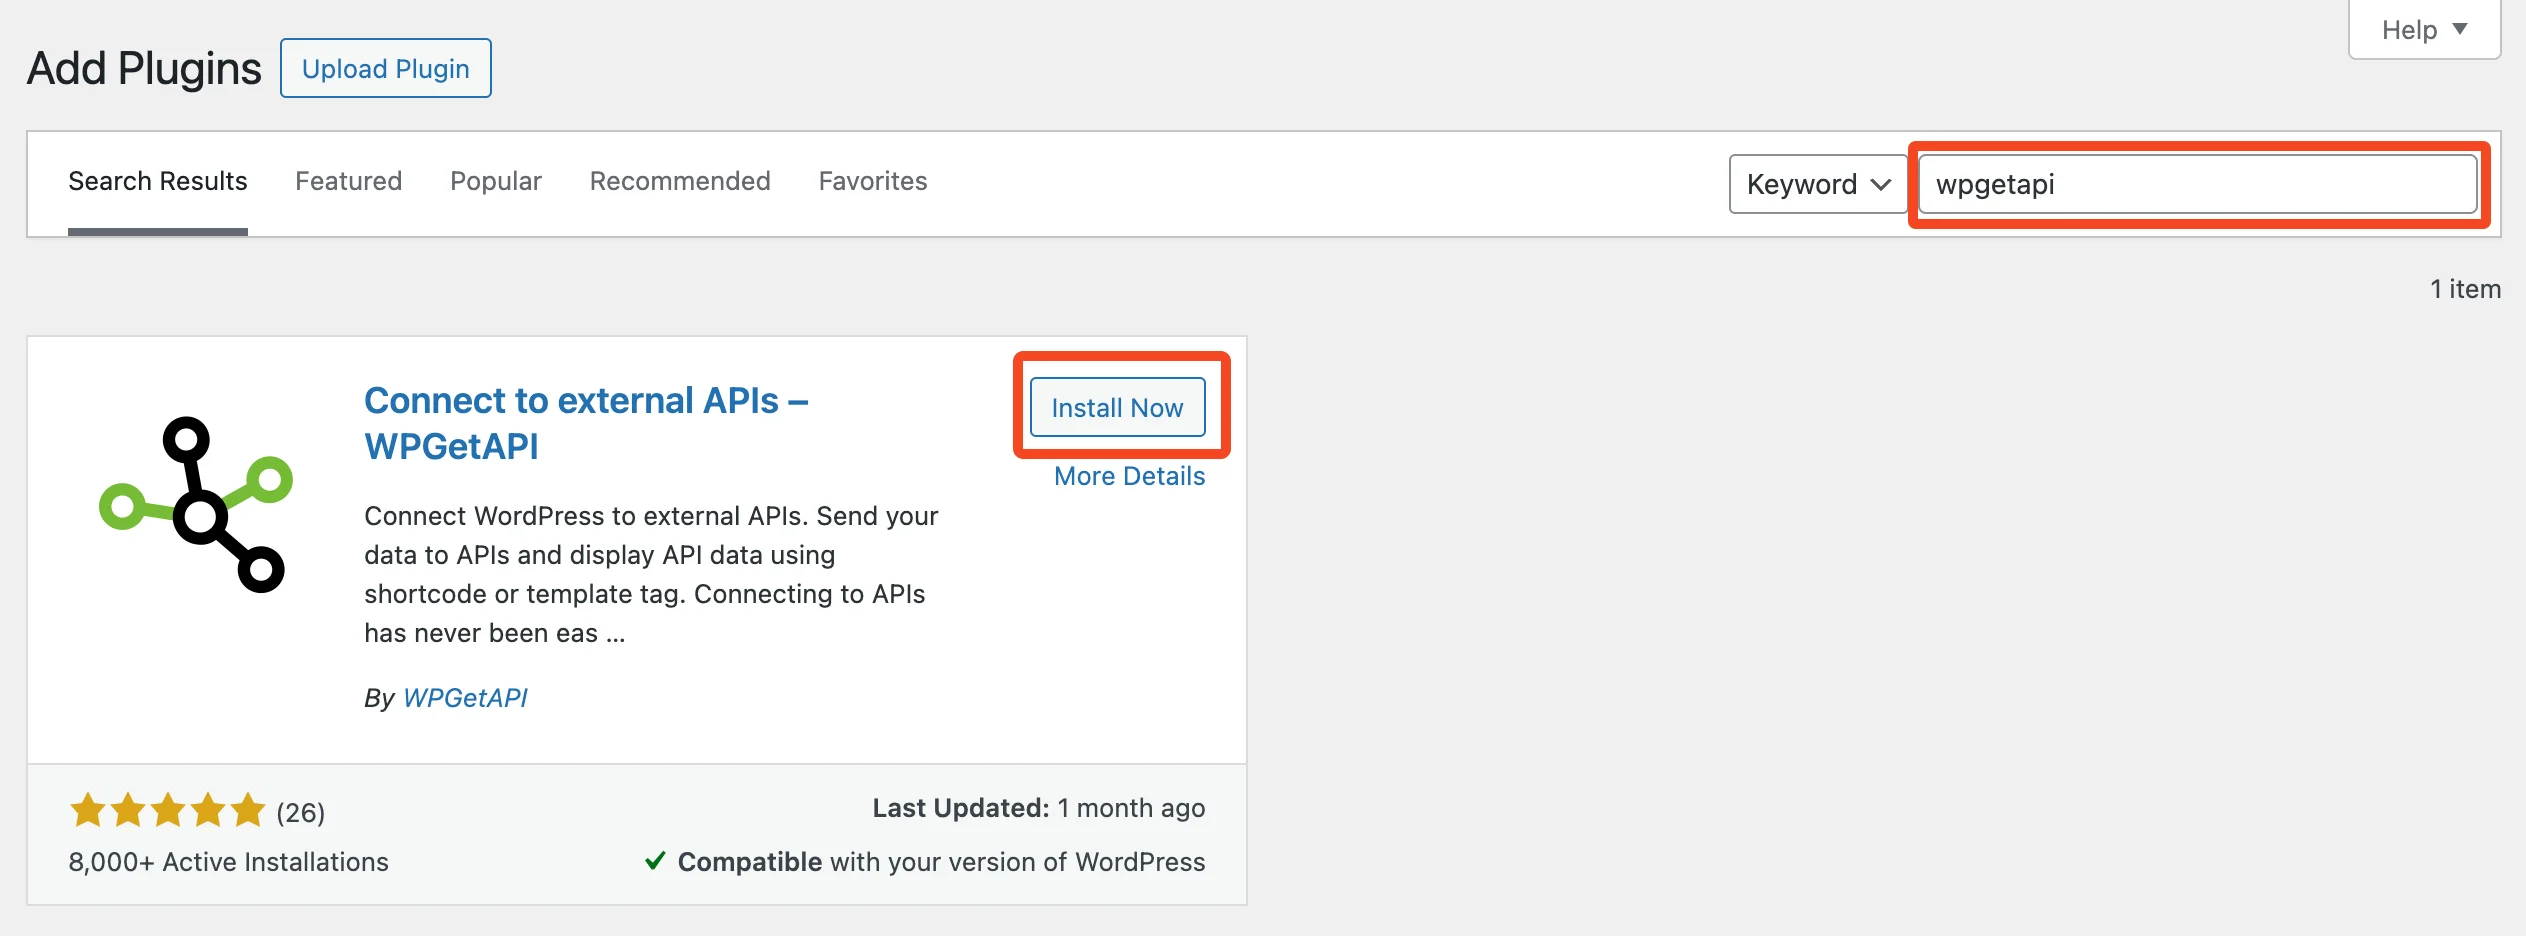
3. Locate the search bar at the top right corner of the screen and enter ‘WPGetAPI‘ into the search field.
4. Upon finding the WPGetAPI plugin in the search results, click Install Now.
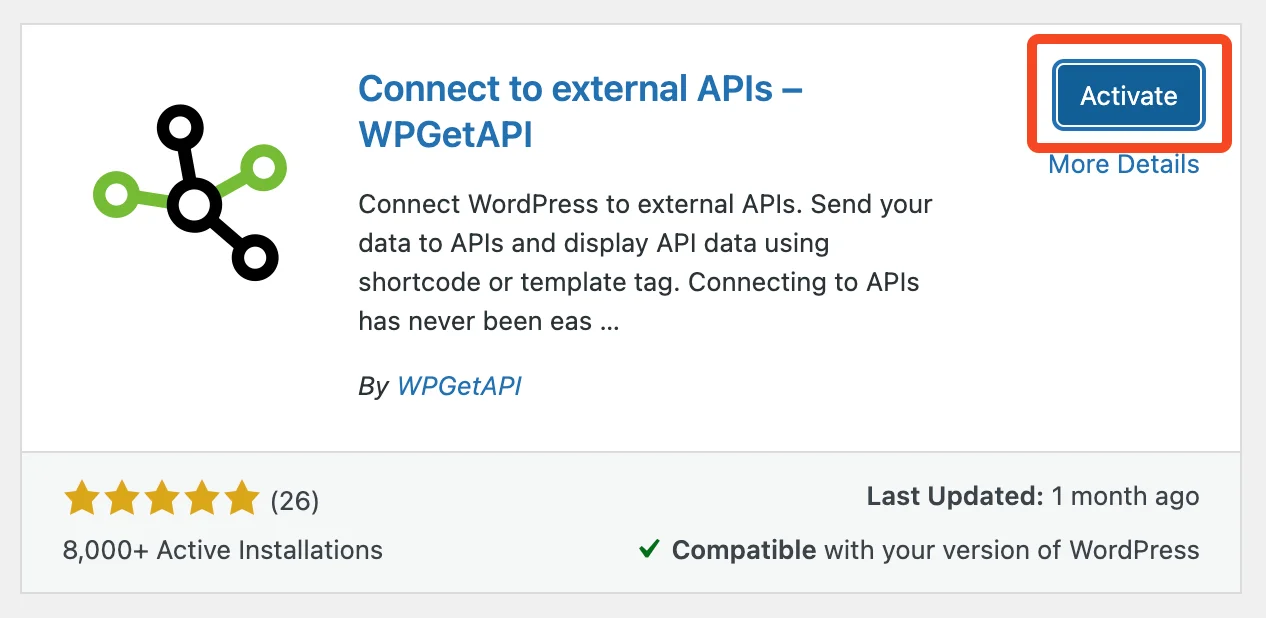
5. Once the installation is complete, activate the plugin by clicking on the Activate button.
Installing WPGetAPI Pro
1. Head over to the Pricing page and select your preferred Pro plan. Please see the OAuth 2.0 Plugin and the API to Posts Plugin for pricing of those plugins.
Bonus: If purchasing multiple plugins, use the code ‘PLUGINBUNDLE20‘ to receive 20% off.
2. After completing your purchase, you’ll receive an email containing a download link and licence key for the plugin.
Alternatively, You can download the plugin by navigating to the Account page and then clicking on ‘View Details and Downloads’.
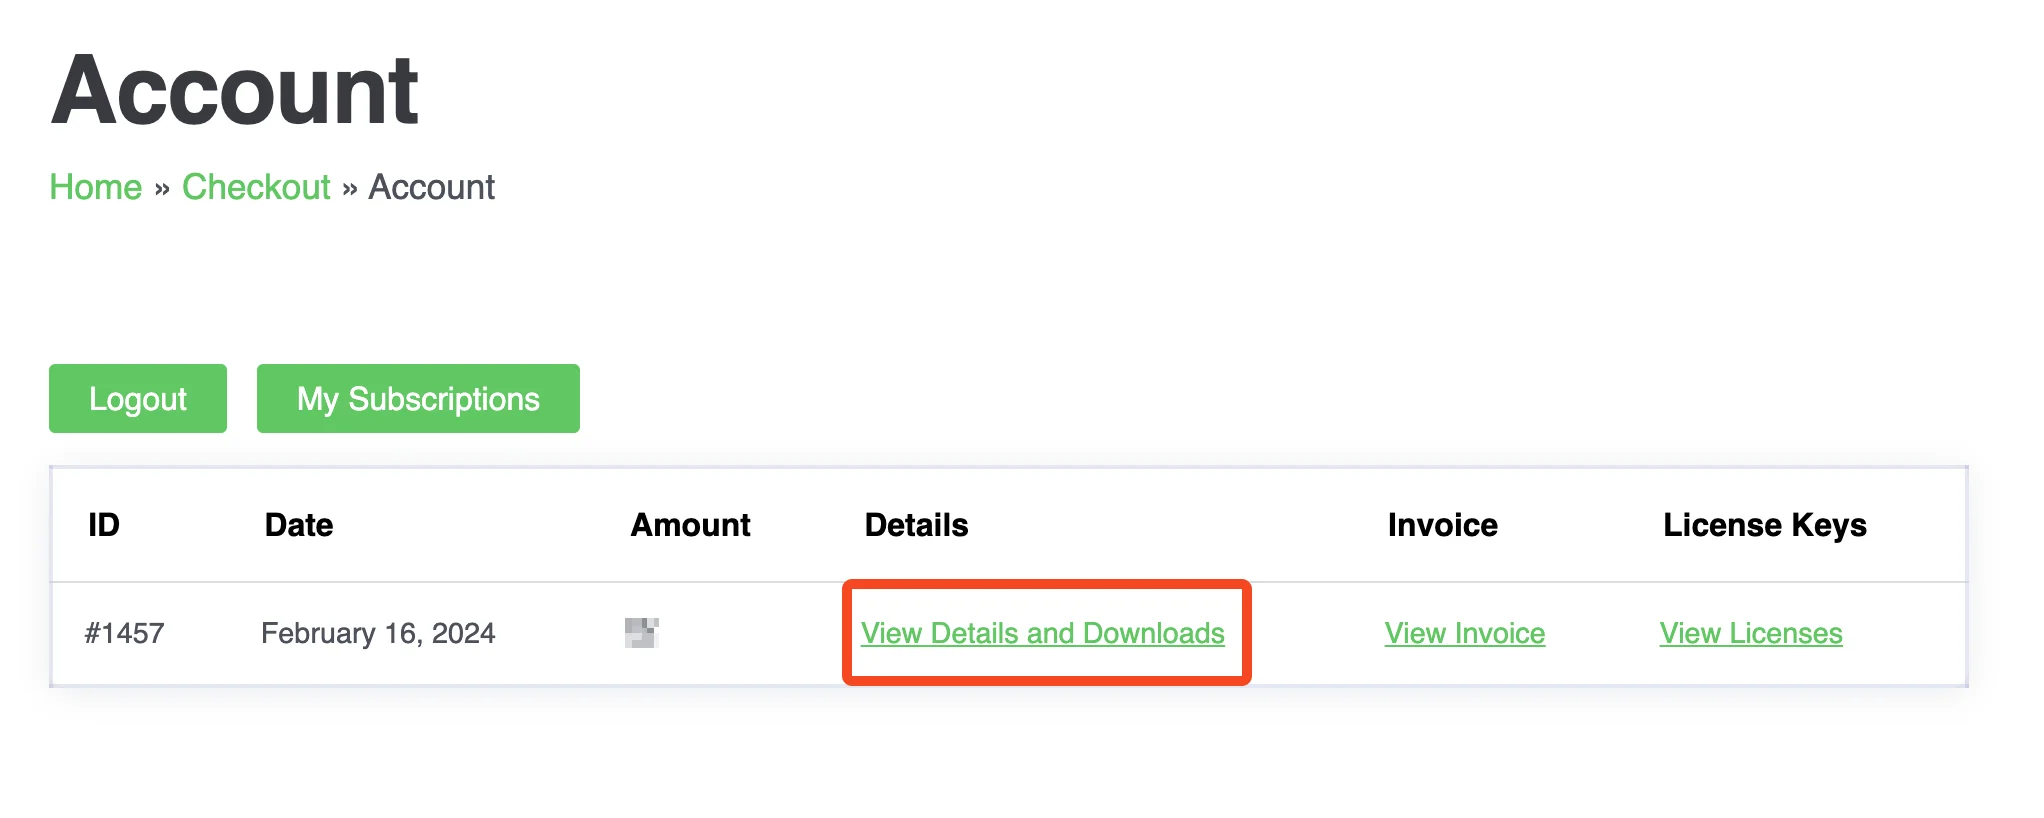
Under ‘Products’, you’ll find the link to download the Pro plugin.

You can also access your licence by going to the Account page and then ‘View Licenses.’
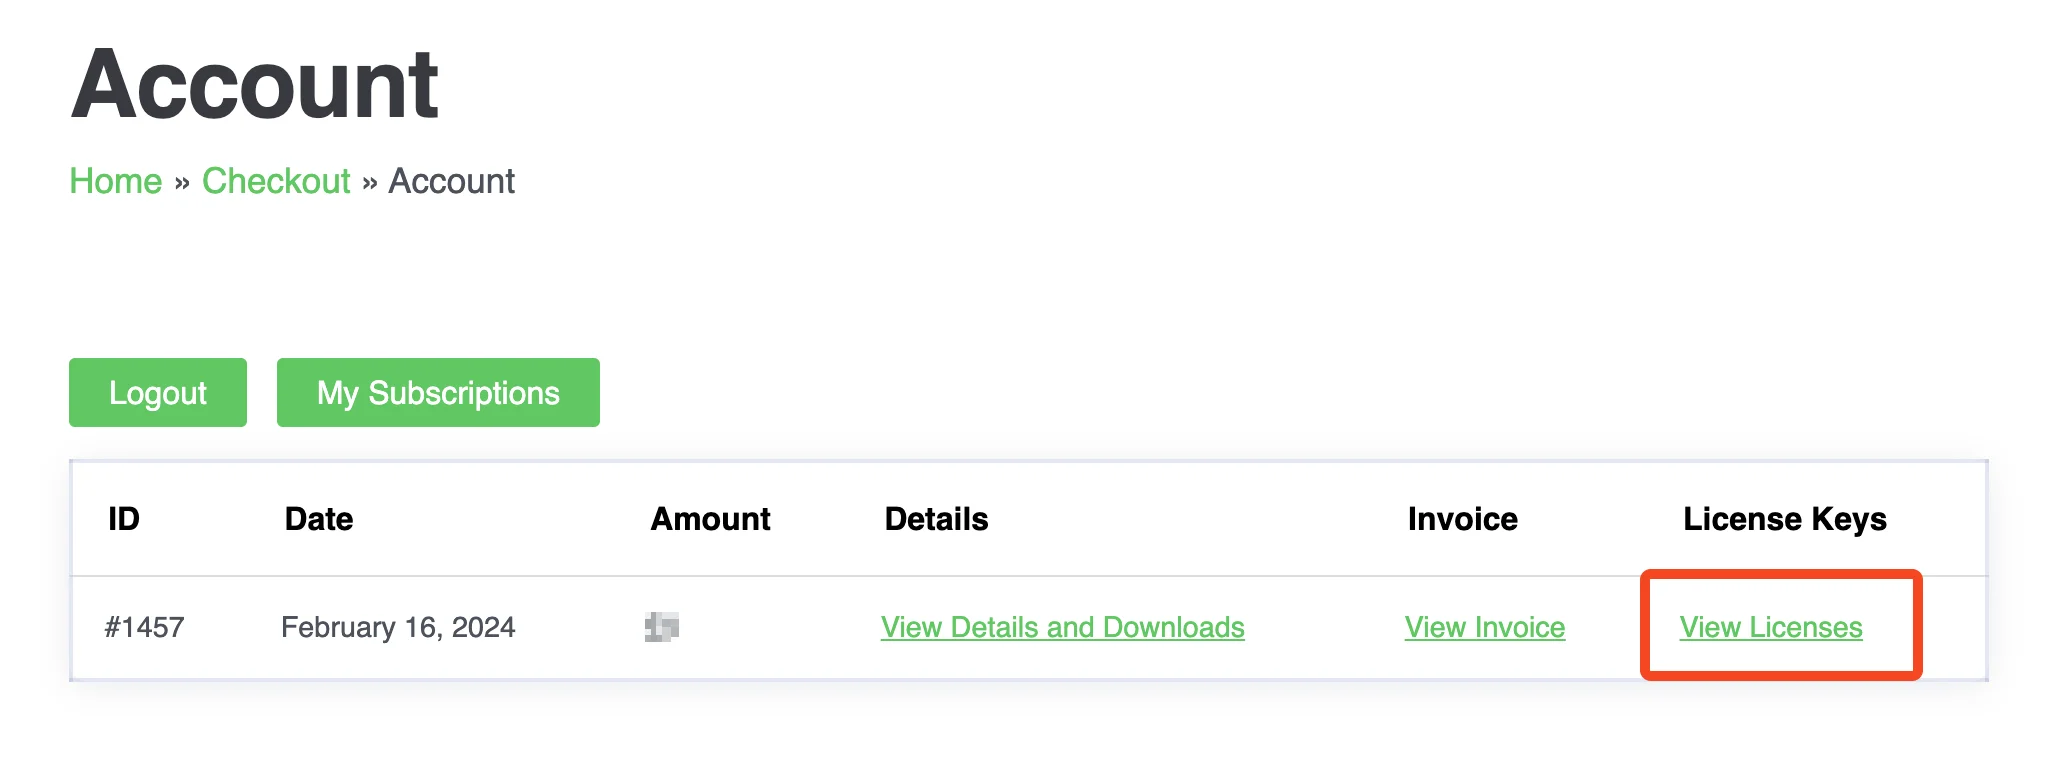
Click on the small key icon next to the relevant product to view your licence.

3. Log in to your WordPress admin dashboard.
4. Navigate to the Plugins section and click on Add New Plugin.
5. Click on the Upload Plugin button at the top of the page.
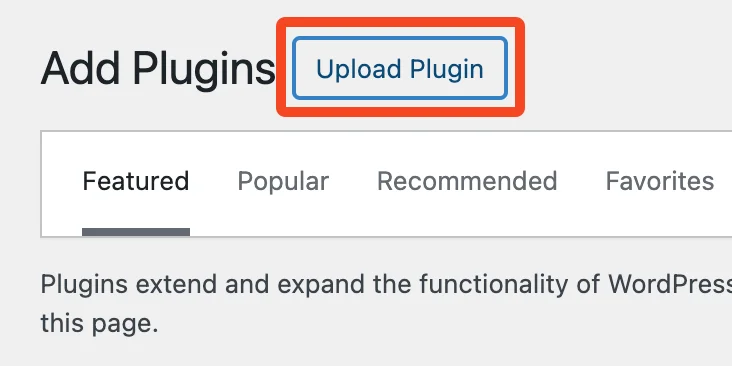
6. Click on Choose file and select the downloaded WPGetAPI Pro zip file.

7. Click on Install Now to upload and install the plugin.

8. Once installed, activate the plugin by clicking on the Activate Plugin button.
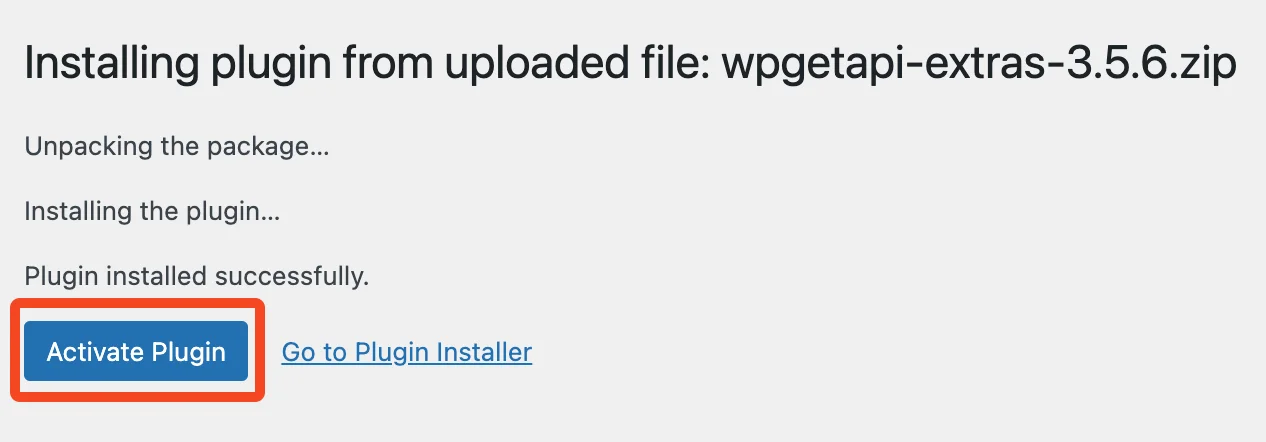
That’s it! You can now begin using the WPGetAPI Pro plugin on your WordPress site.
Adding licence key
To add your licence key:
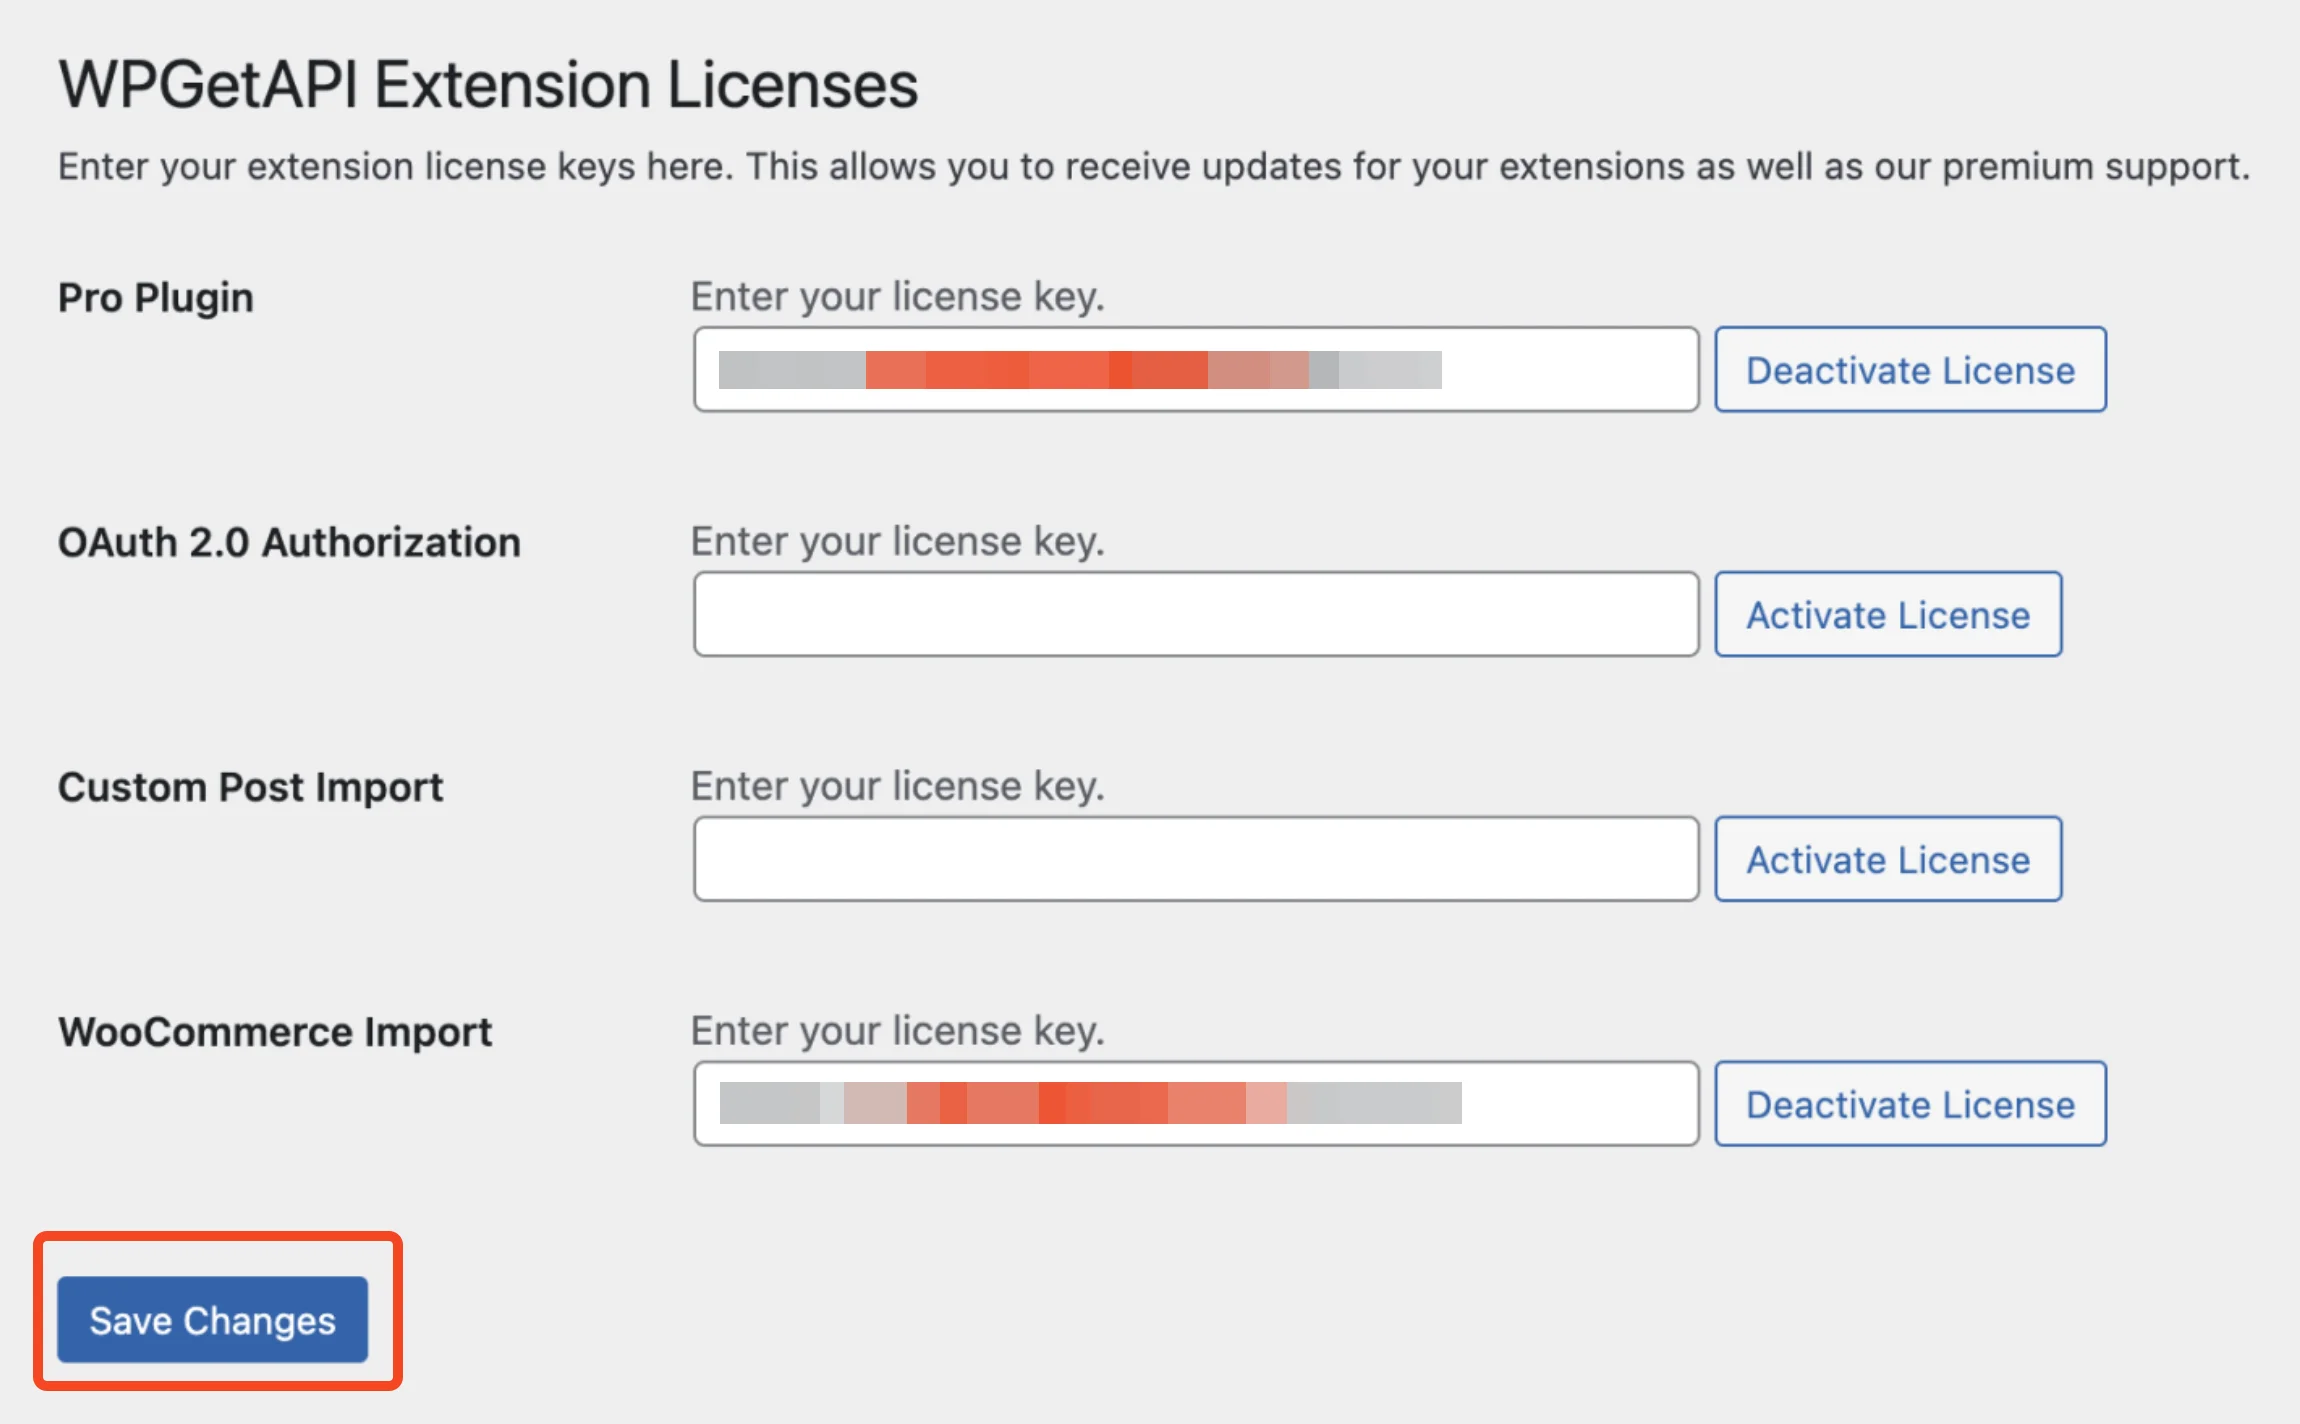
- Go to the WPGetAPI menu and click on ‘Licenses’.
- Copy your licence key from the email you received or from the purchase confirmation page.
- Enter your licence key(s) and press Save Changes.
Step 2: Add your API
Fill in the details for the API that you are using and then hit Save.
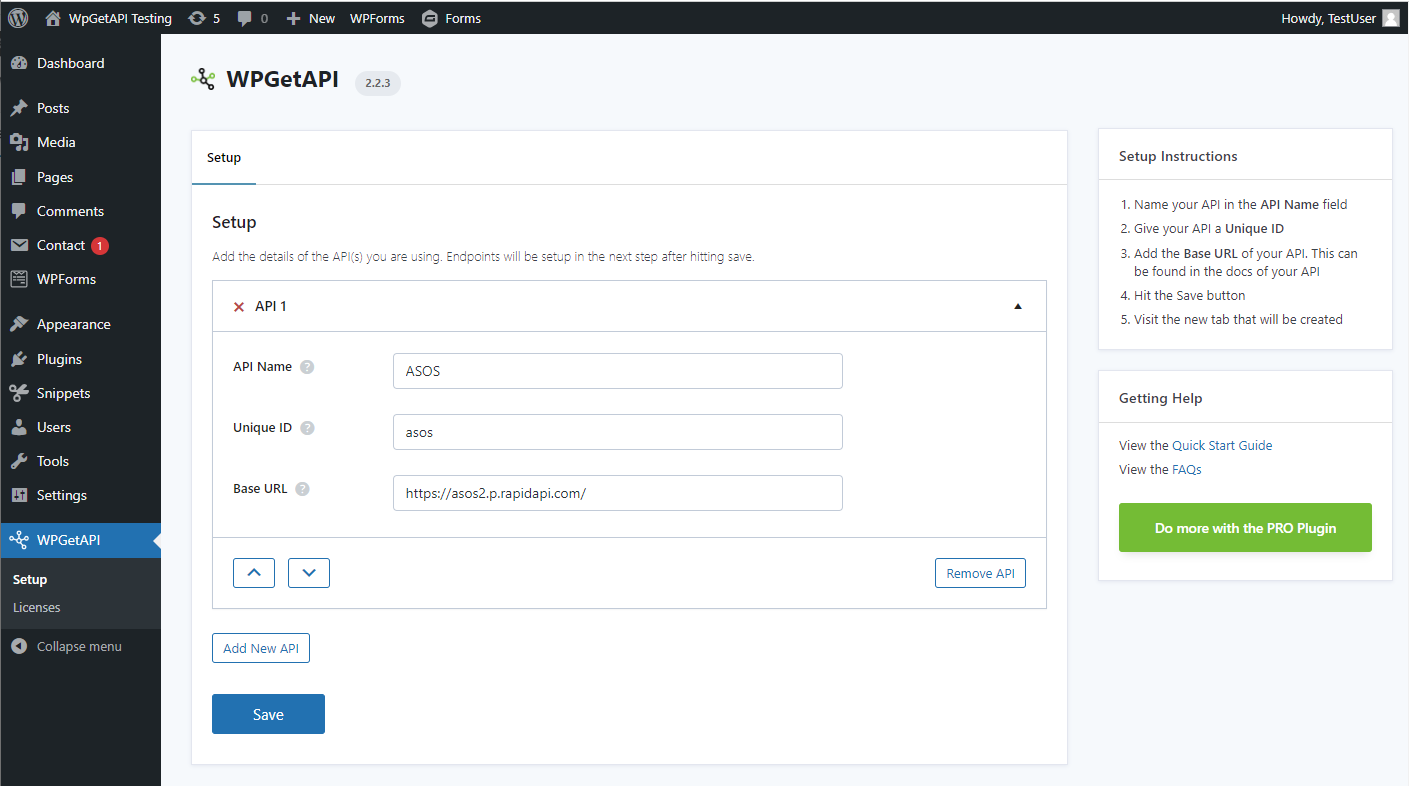
After hitting save, a new tab will be created for the API you have just setup. In this case we are using the ASOS tab.
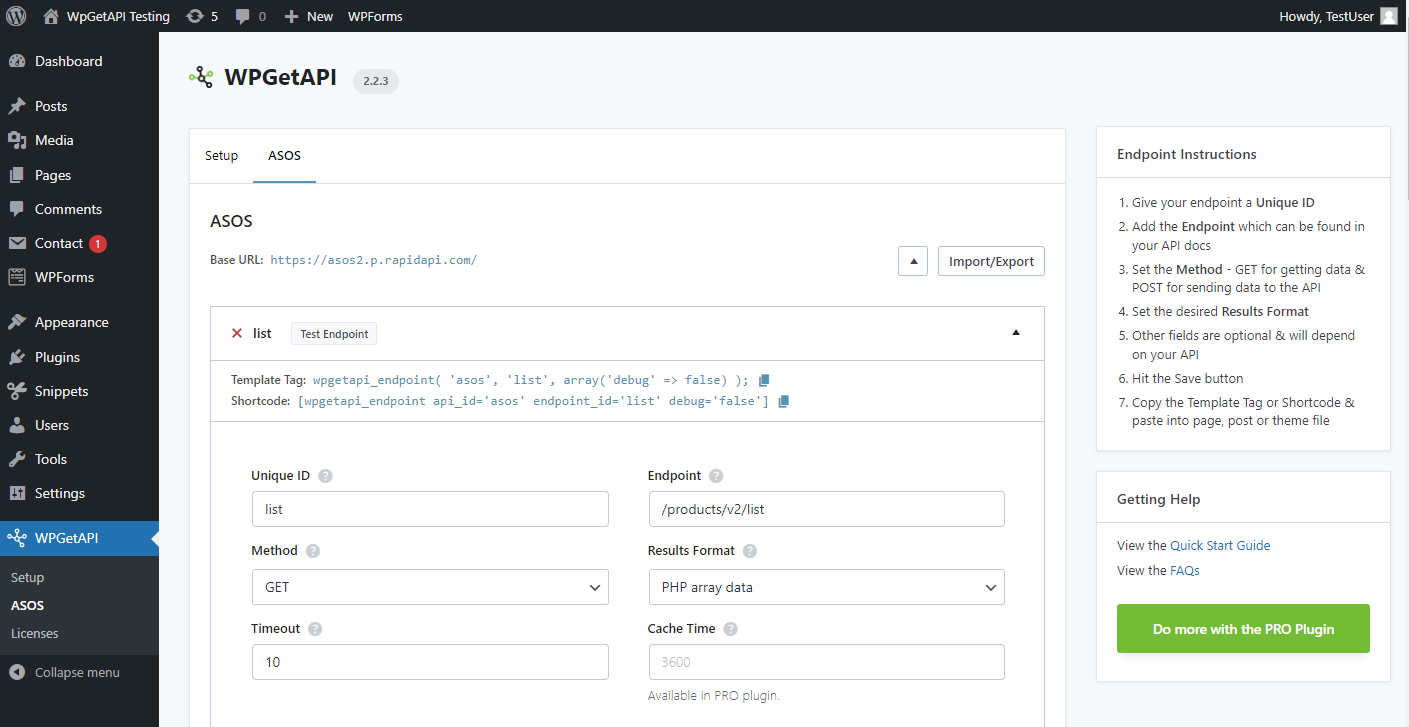
Step 3: Add endpoint details
The next step is to click into the newly created ASOS tab and fill in the endpoint details. After that, hit the Save button.
Step 4: Test the endpoint
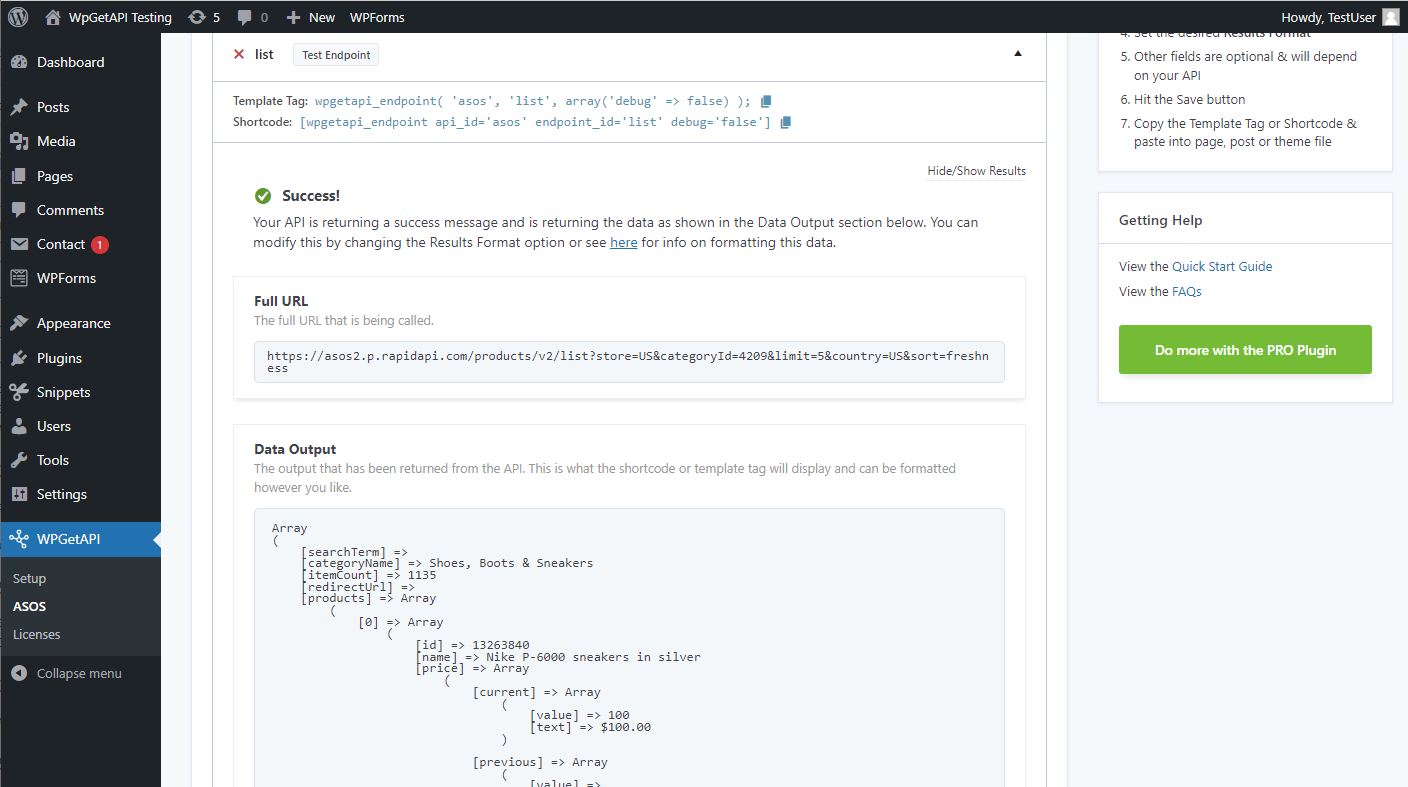
After saving the endpoint, you can now click the ‘Test Endpoint’ button to see what your API is returning.
Step 5: Using on the front-end
At the top of each endpoint, you will see the Template Tag and the Shortcode for that endpoint.

You can copy and paste either of these into the appropriate place on the front-end of your website. It could be a post, a page or a theme file.
Now each time a user visits that post or page, the endpoint will be called and data will either be sent to the API or data will be returned from the API, depending how you have it set up.
Next Steps
Visit the Step By Step Example
