Mapping fields within the API to Posts plugin is relatively straightforward, but at the same time is very powerful. This article takes an in-depth look at how we can map our API data to the fields within WordPress, or within WooCommerce if we are creating products.
First, some definitions
WordPress Fields
We will refer to everything within WordPress as a WordPress field. This could be a custom field, Tags, Categories, Featured Image, Post Title, Post Content or basically any type of data within WordPress.
WooCommerce Fields
This refers to the standard WooCommerce fields such as Regular Price, Sale Price, Attribute, Featured Image, Gallery Images, Weight, Description and so on.
API Keys and Values
The data within an API comes in the form of keys and values. Each key has a corresponding value which might be some text, numbers, an array of data or sometimes the value may be empty or blank.
The key refers to a non-changing name (or key) that is paired up with a variable (or changing) piece of data. An example of a key would be SKU with a corresponding value of 123 for the first item, and then an SKU of 456 for the next item. The key of SKU remains the same but the value changes.
Setting the Post Title
The Post Title is the first field that appears within the Data Mapping section. This field is set up slightly differently to all other mapping fields as it allows you to create a Post Title (or Product Name if creating Products) from multiple different fields within the API.
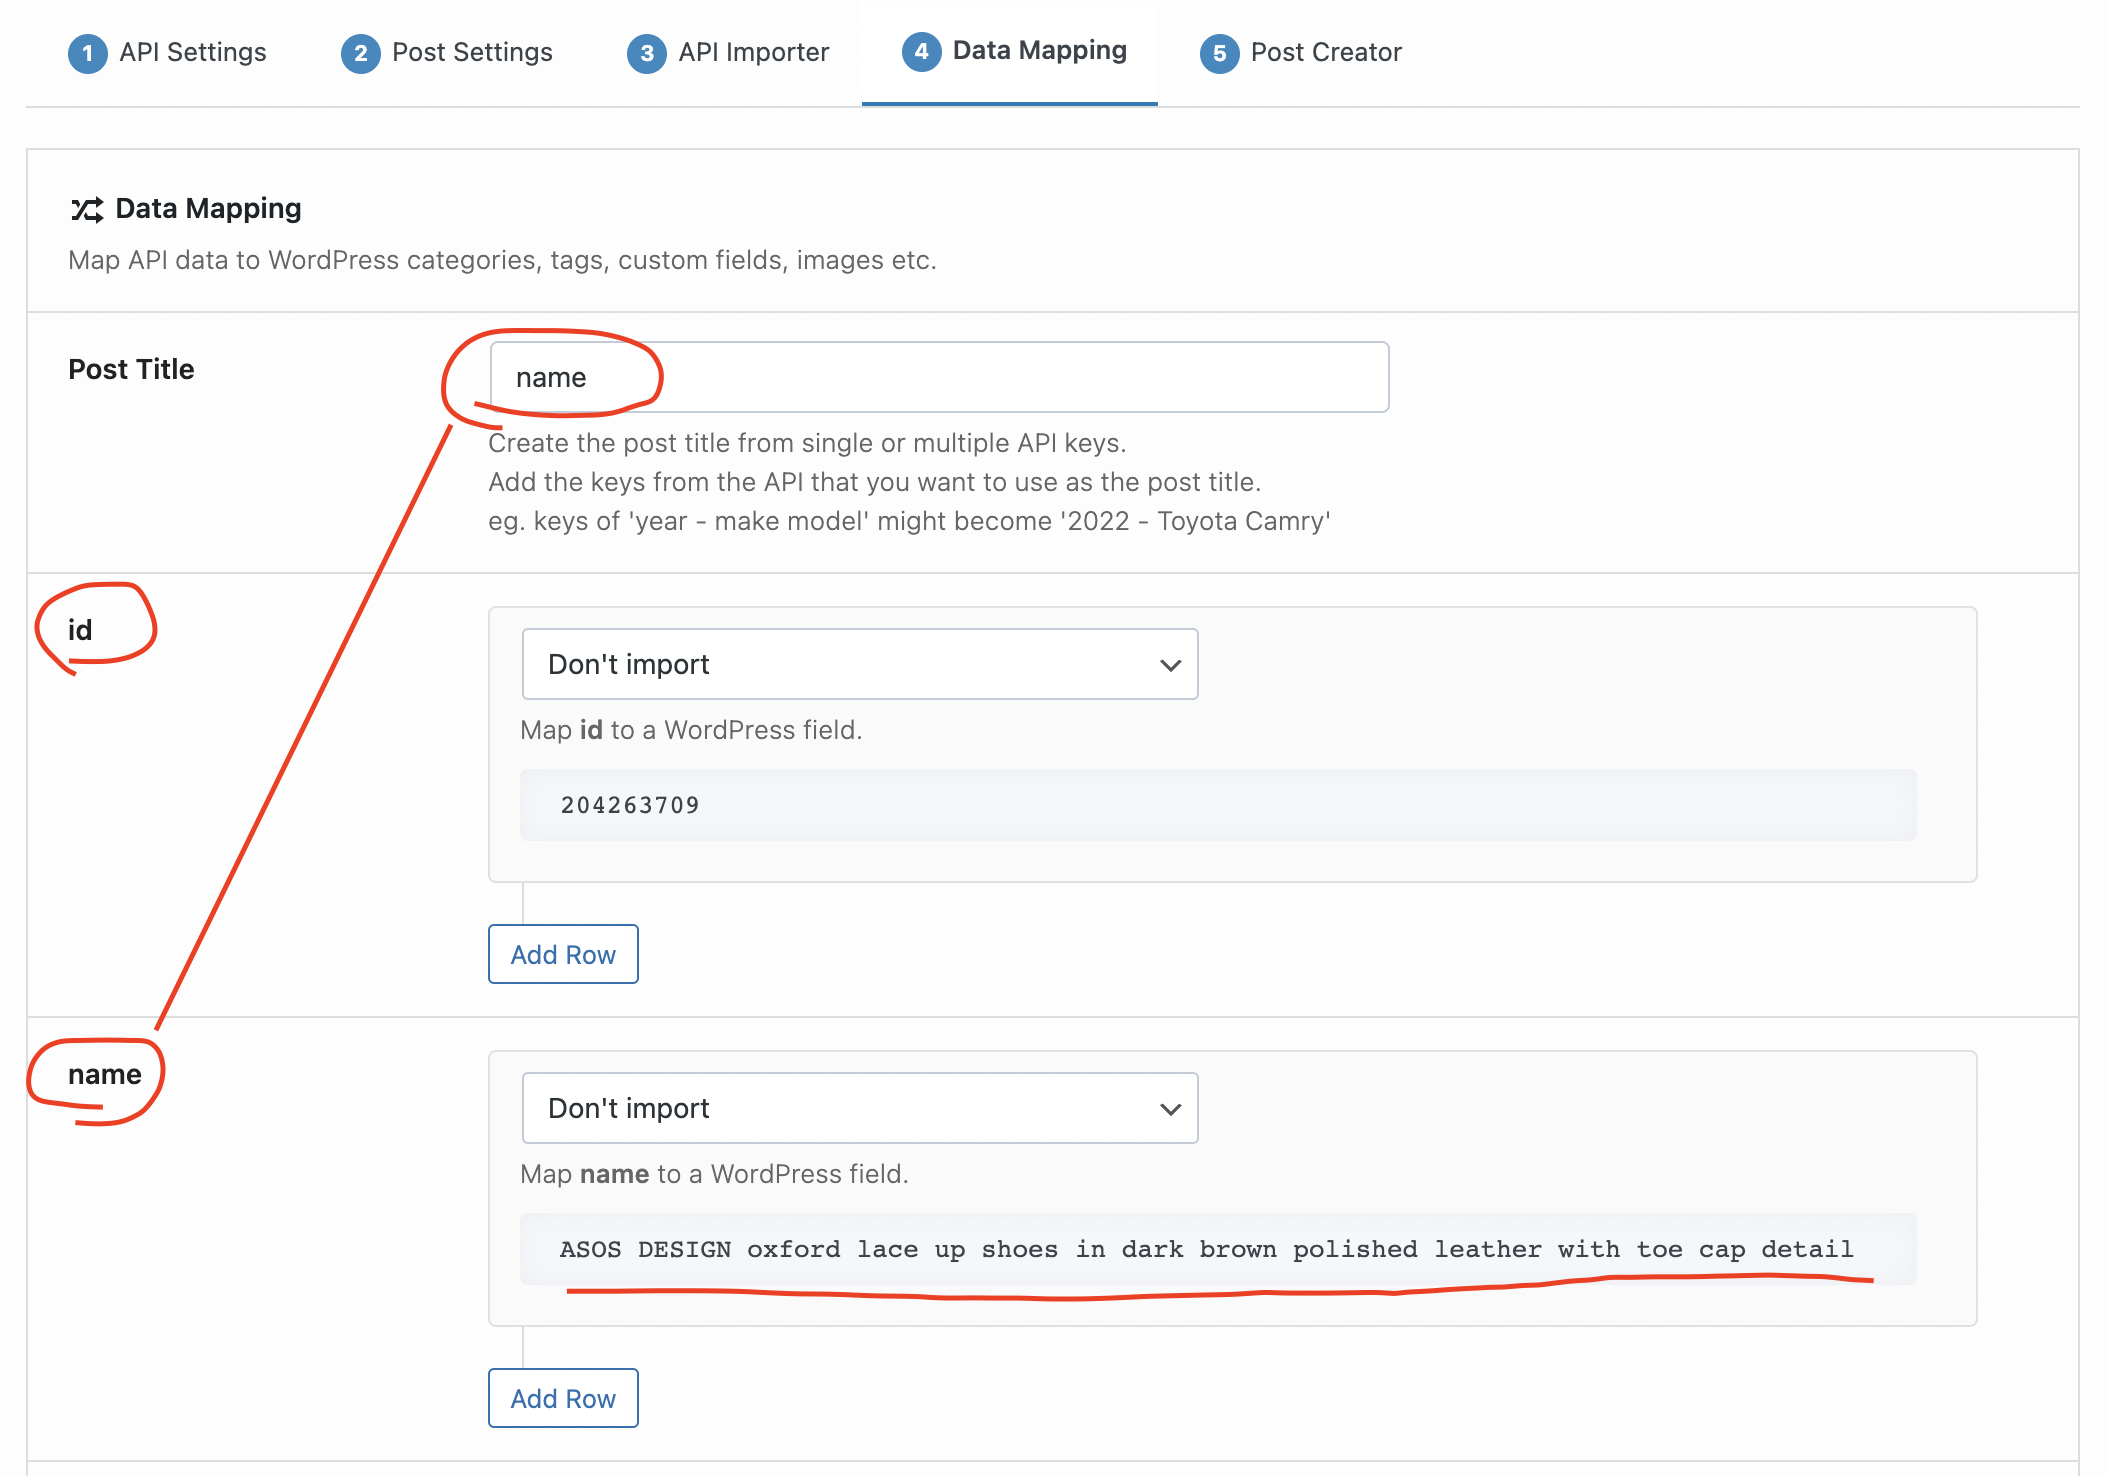
In the example above, we have simply set the Post Title as the name key.
So the Post Title for the product shown would become ‘ASOS DESIGN oxford lace up shoes in dark brown polished leather with toe cap detail’. Within the Post Title field we could change this to name – id and the post title would include ‘ – 204263709’ at the end of it as we are now adding the id key to the field.
Using Array Data
If your API value is in the form of an array (including multiple sub-arrays), an extra field will appear that allows you to step down into the array to grab any value you require.
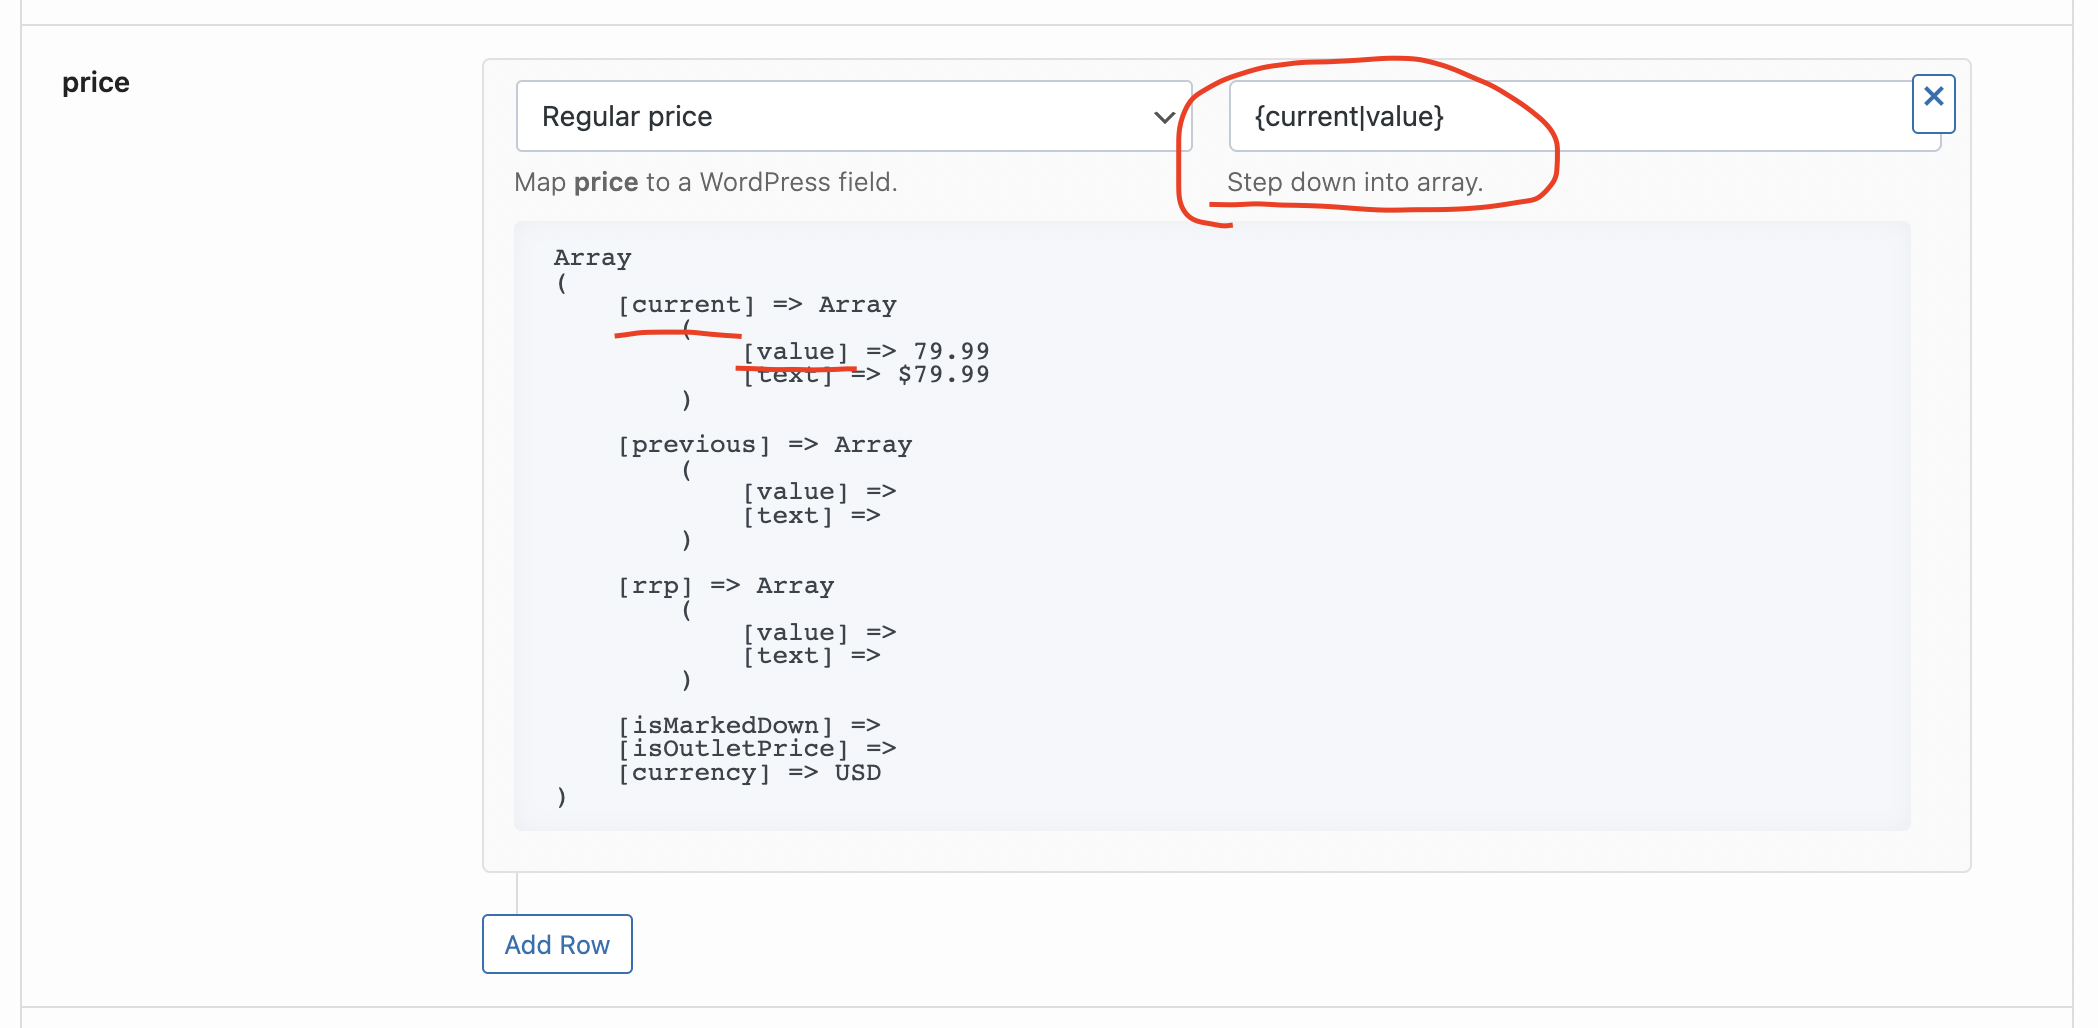
In the example above, we want to set the Regular Price and grab the value that is buried a couple levels deep in the array. The first level key is current and the second level key is value. So in our field we just need to add {current|value} and this will step down and grab the value of 79.99 for this product.
The Add Row Button
You will notice that beneath each of the values, there is an Add Row button. This allows you to use values multiple times or to extract multiple values from an array.
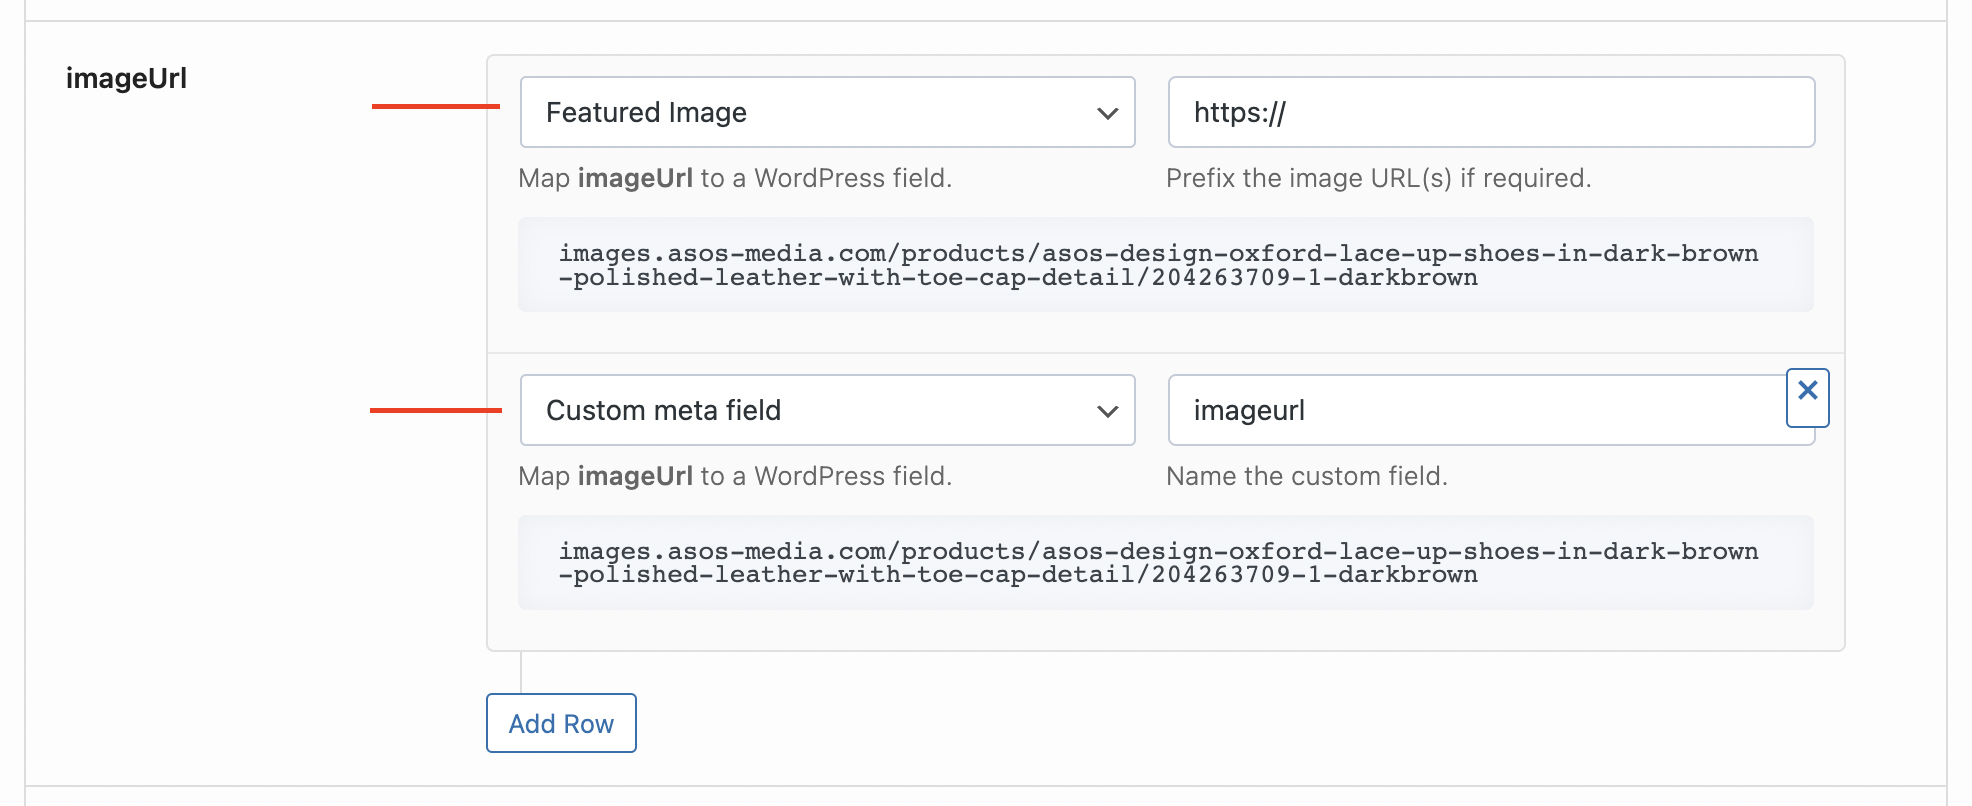
Here we are using the imageUrl value to create our Featured Image and also to add the value into a custom field named imageurl.
Custom Fields
There are a few different options with the way we can store custom fields.
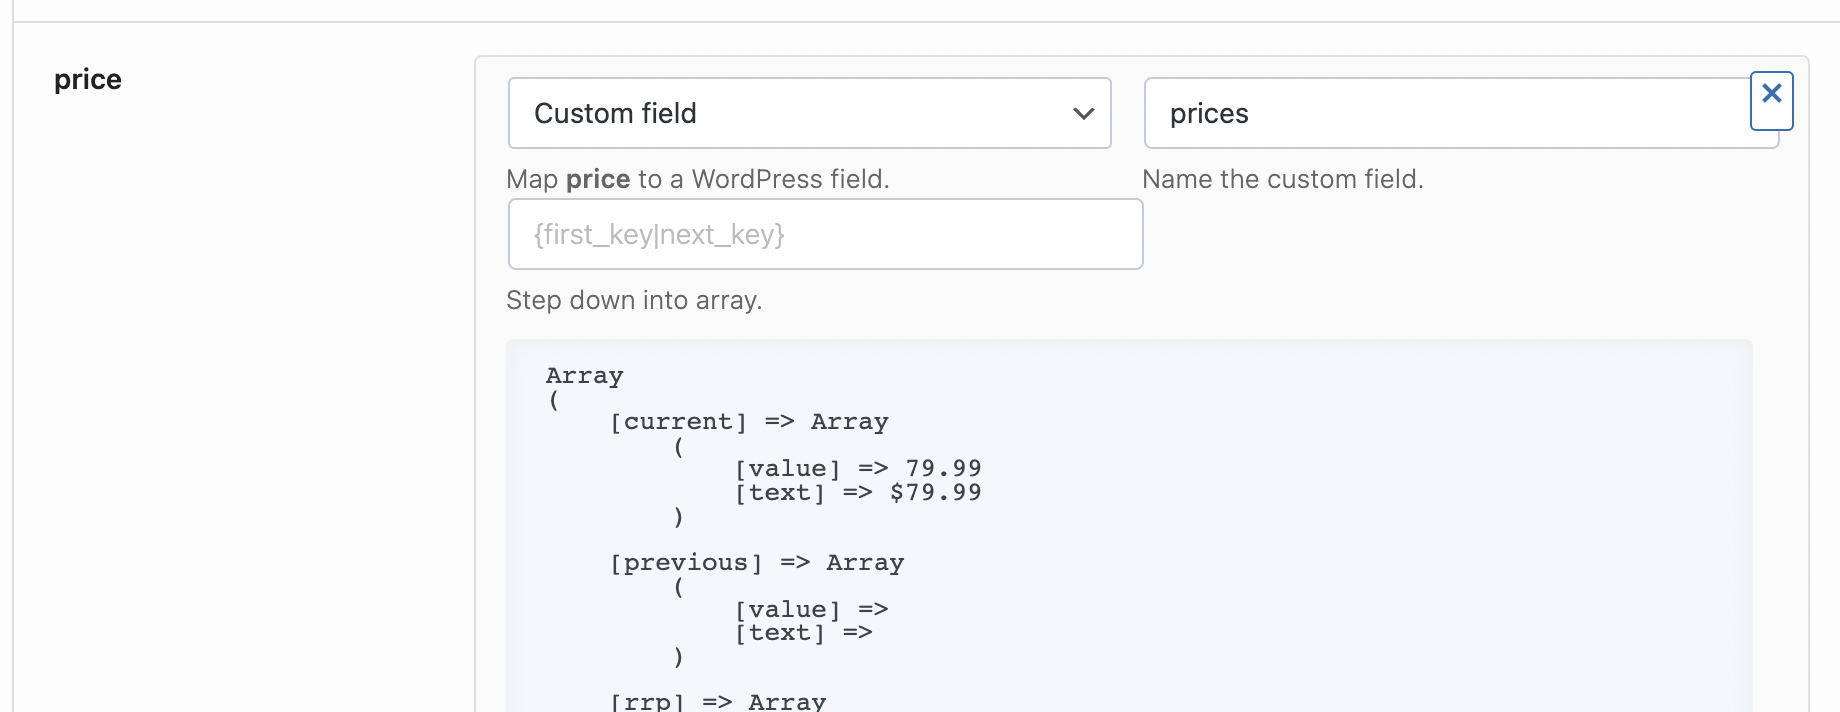
Single Field
This example uses the Custom Field option and simply stores the value in a single custom field named ‘blah’.

If your value is an array and you use the single Custom Field option, it will JSON encode the array and store it within the single custom field as JSON data.
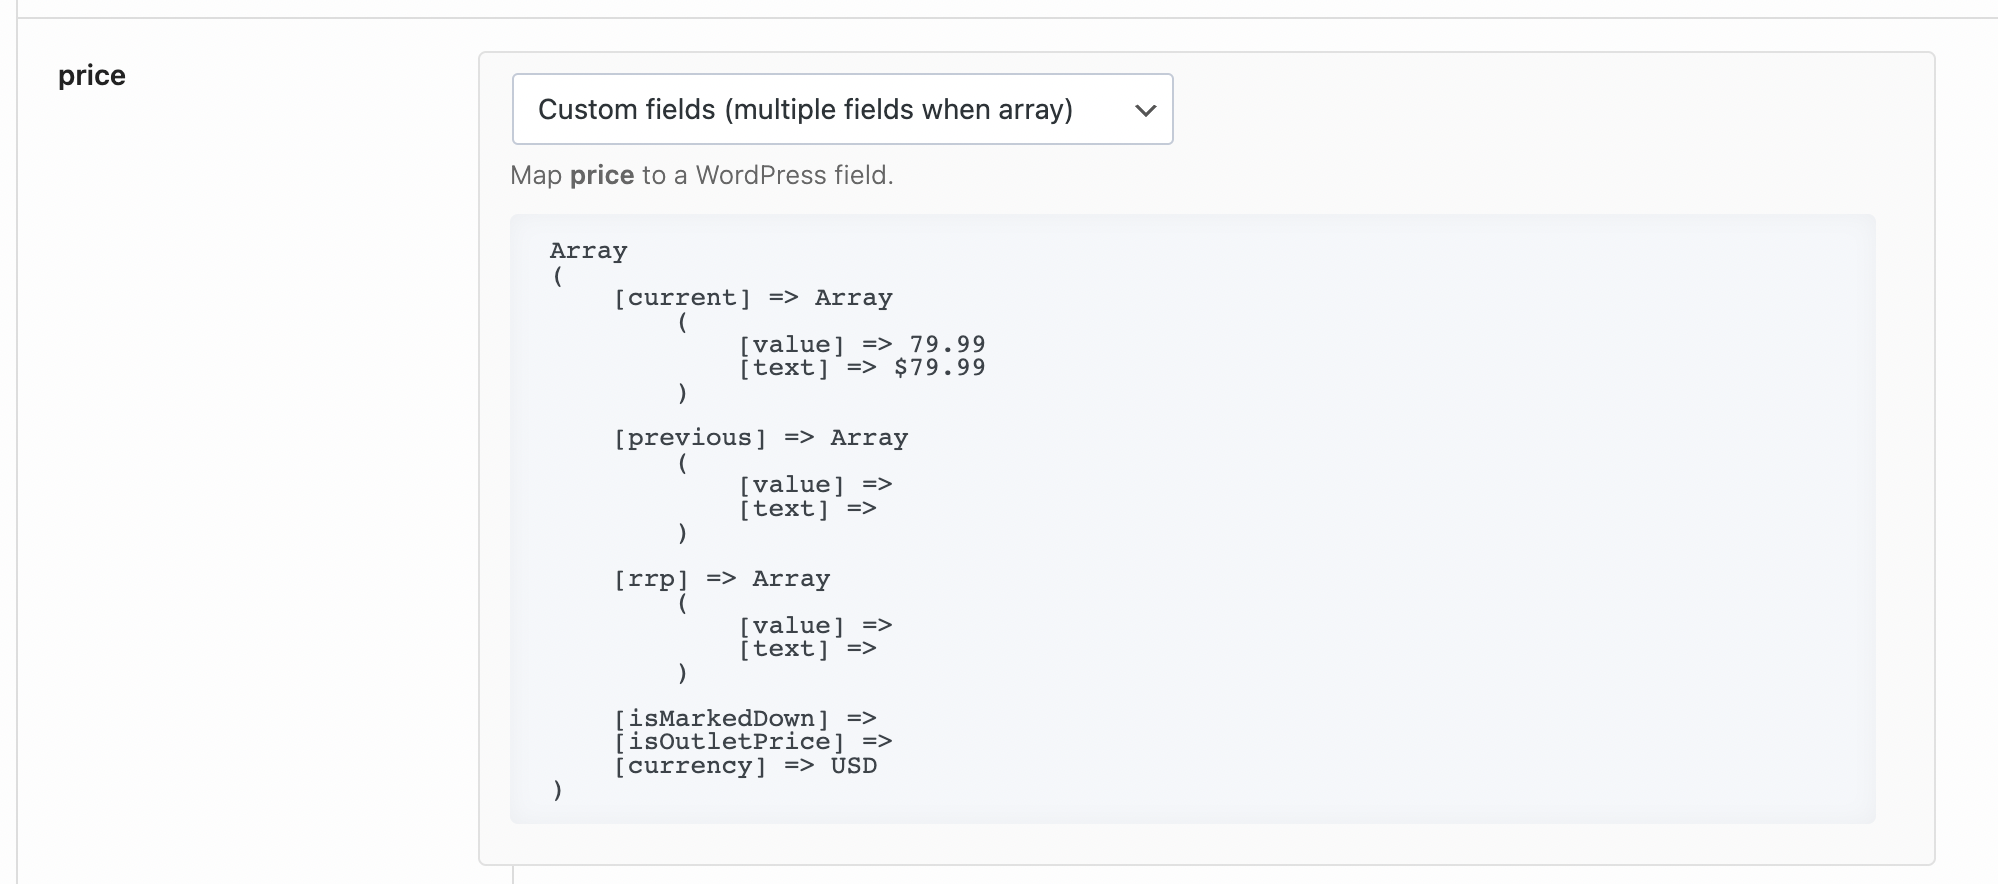
Multiple Fields
If your API value is an array you can select the Custom Fields (multiple fields when array) and this will create multiple fields that look something like this:
- Name of custom field: price_current_value – Value of custom field: 79.99
- Name of custom field: price_current_text – Value of custom field: $79.99
- Name of custom field: price_previous_value – Value of custom field:
- Name of custom field: price_current_value – Value of custom field:
- Name of custom field: price_currency – Value of custom field: USD
- and so on…
Warning: if the array is large, it will create many many custom fields.
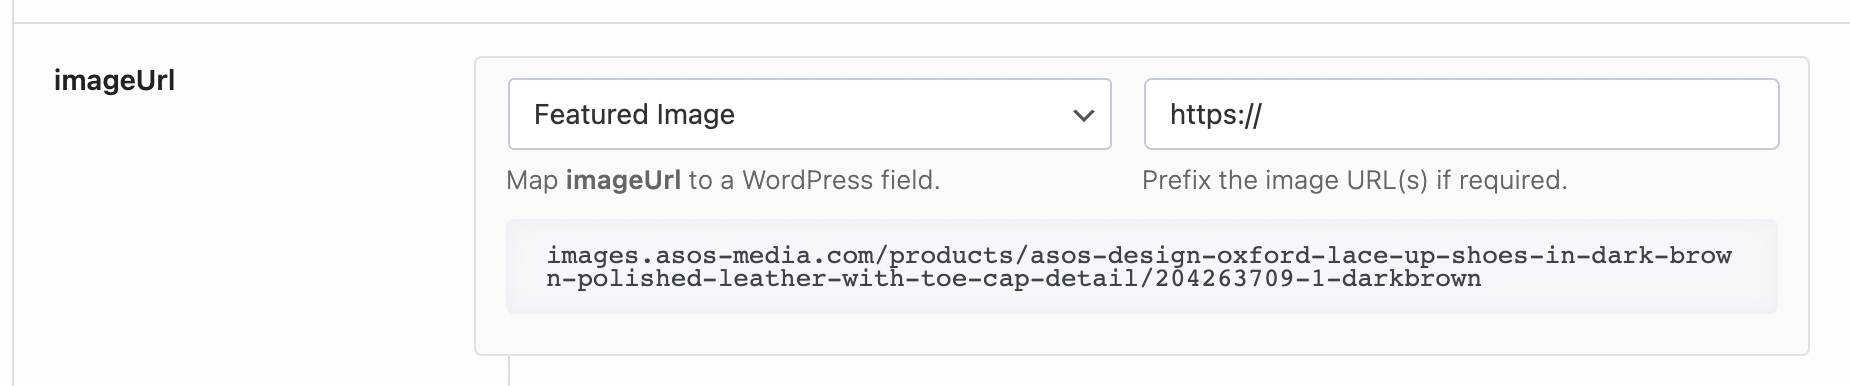
Images
Images can be uploaded by using the Featured Image or Gallery Images (when creating WooCommerce products). Simply select the Featured Image option and the URL of the image will be called, the image uploaded into your Media Library and assigned to the post.
Note that this will slow down the post creation process as each image requires an API call as well as processing the image and uploading to the website.