This article will run through the basic steps required to create posts, custom posts, listings or WooCommerce products directly from your API data.
Step 1 – Installation & activation
When you purchase the API to Posts plugin, you will need to install and activate the plugin – see our installation guide. You also need to have the free WPGetAPI plugin installed.
Step 2 – Setup your endpoint
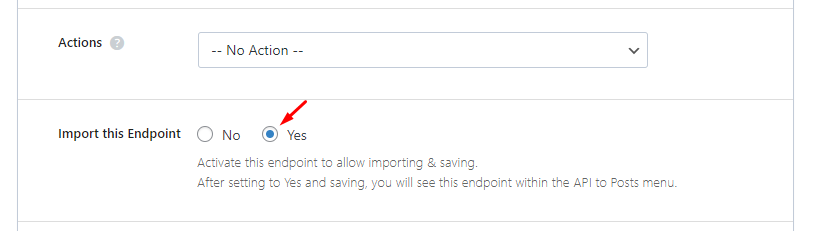
After installation you will see a new field called Import & Save added to the end of each endpoint. To activate an endpoint for saving, simply select the Yes option and then save the endpoint.
Upon saving, the endpoint will now be visible within the API to Posts menu.
Important: you should test your endpoint using the ‘Test Endpoint’ button and ensure that it is returning data correctly in PHP array format!

Step 3 – Setup API to Posts
Once you have activated your endpoint(s), visit the API to Posts menu within your WordPress sidebar and you will see the endpoints that you have activated.
Click on the endpoint to begin the setup.
There are now 5 tabs within the API to Posts plugin that will take your API data and turn it into WordPress posts. Whether your data is products, real estate listings or anything else, we call them ‘items’.
- API Settings – configure the API data and how it should be imported.
- Post Settings- configure the posts or products and how they should be created.
- API Importer – provides a button to call your API and then saves the data.
- Data Mapping – uses the saved API data and allows you to map the API data to WordPress fields.
- Post Creator – provides a button to create the posts based on the mapping and post settings.
1 – API Settings

Data Type
The data within your API may contain either a single item, multiple items or it may be a ‘detail‘ type API.
The plugin will try to detect the type of data and automatically set it to what it detects. Most of the time it will be Multiple items.
The ‘Detail’ Data Type
The Detail Data Type is only used when you are importing data from multiple endpoints. If you need to use multiple endpoints, please see our article here.
Unique Item Key
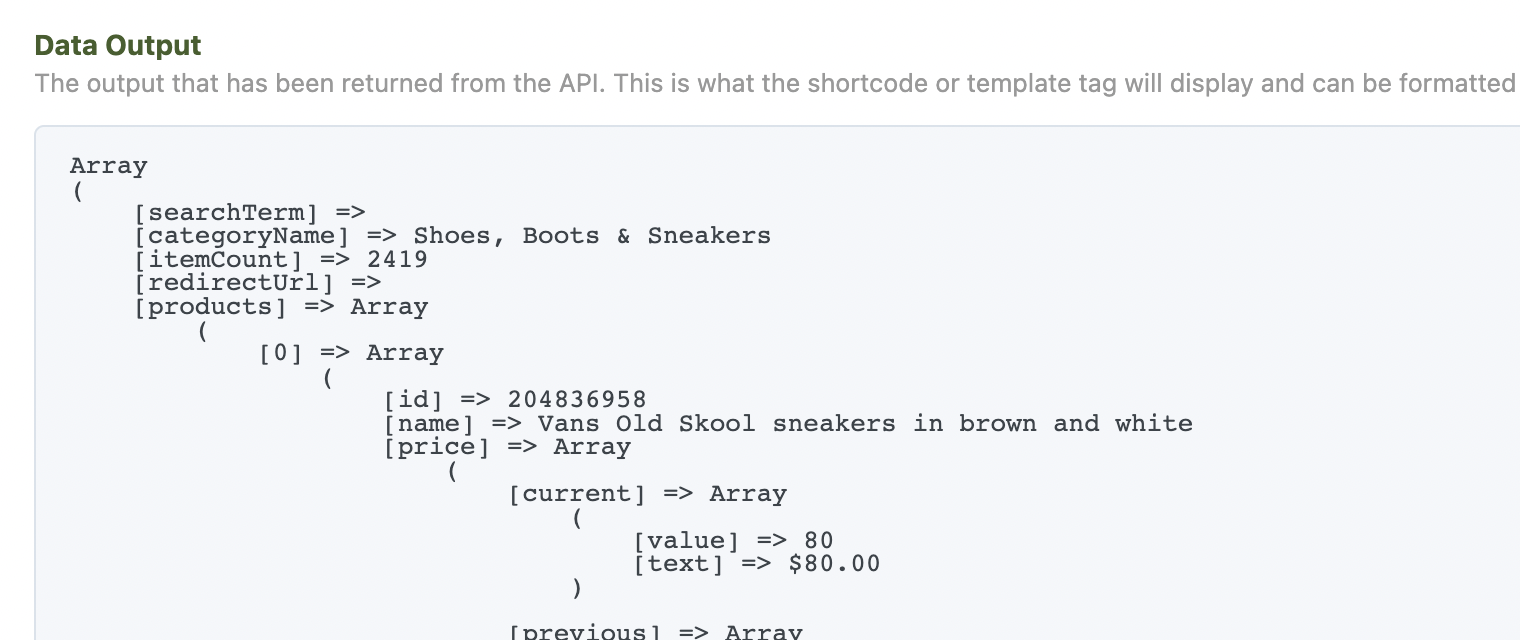
Each item within your API should have some type of unique key such as ID, id, productId, product_id, listingId, listing_id, itemID, ItemNo or something similar.
In the example below, the unique item key is simply id and this is the value that should go in this field.

The Unique Item Key allows us to identify every single item within your endpoint.
Nested Data Path
This field is optional and may not be required, depending on your API.
In the example below, the Nested Data Path will be products. The reason for this is that we need to find the point at where the array of items begins.

If your API simply returns all of your items (without any keys above it), then you can leave this blank.
If your items are buried deeper under many levels of arrays, you can comma seperate the keys and it will step down through the arrays such as data,results,products as an example.
Chunk Size
Set the number of records to process per batch during the sync process.
Recommended value: between 50–500, depending on your server’s performance and timeout limits.
Using a smaller chunk size reduces the load on your server.
2 – Post Settings
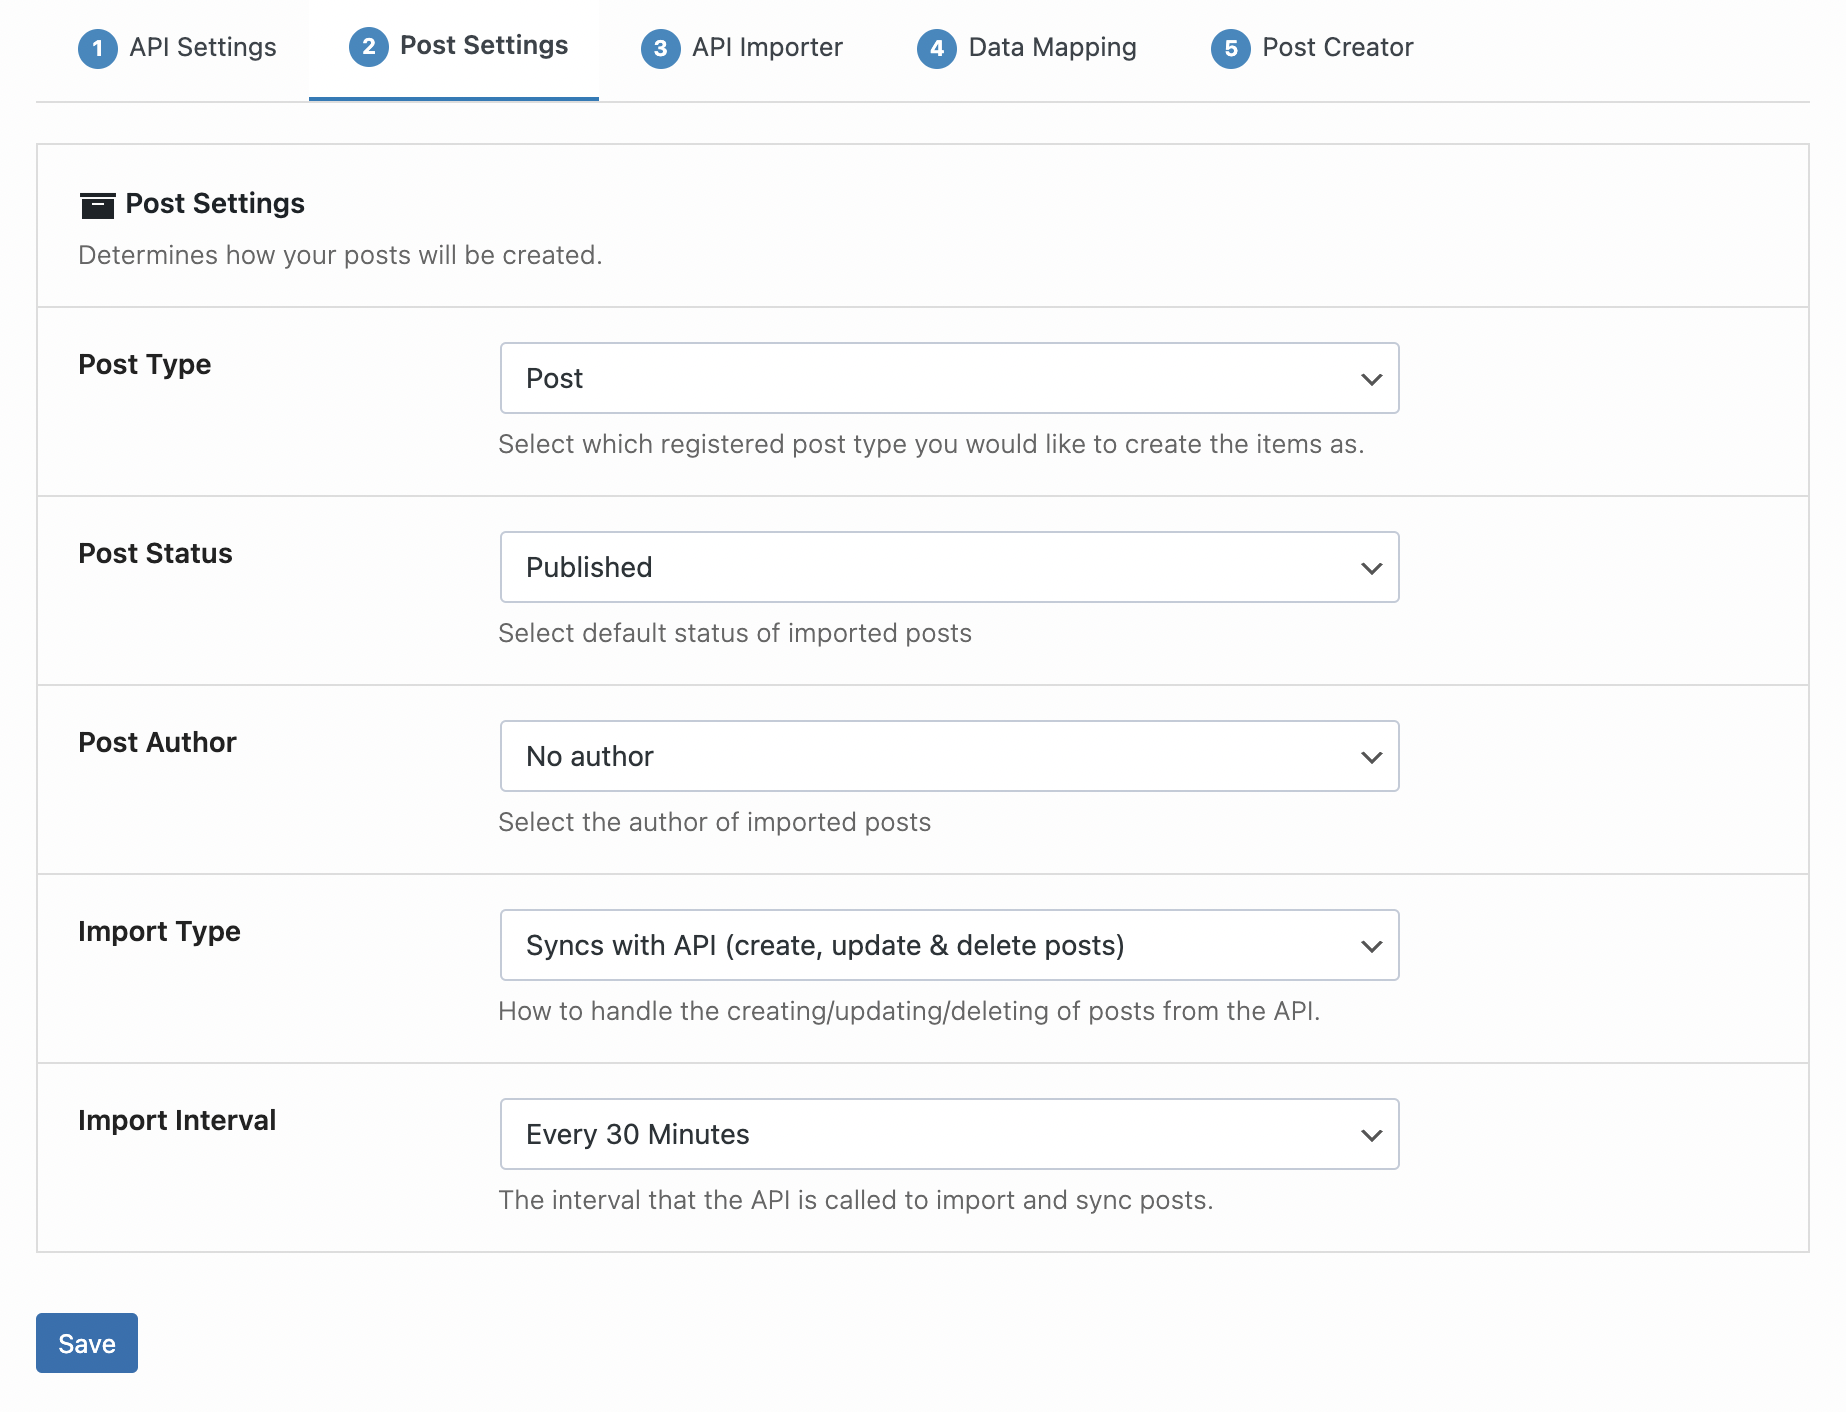
Post Type
Select the custom post type that your API items will be turned into. This supports any registered post type that is set to ‘public’.
Post Status
Select the status of your created posts.
Post Author
Select the author of your created posts.
Import Type
Select how you want to handle the creation of posts.
Import Interval
Select an interval to call your API and to create posts. This uses a WordPress cron job and runs in the background automatically at your chosen interval.
You can also set this to No Automatic Imports and the endpoint will only ever be imported and saved by manually pressing the Run Importer button.
3 – API Importer
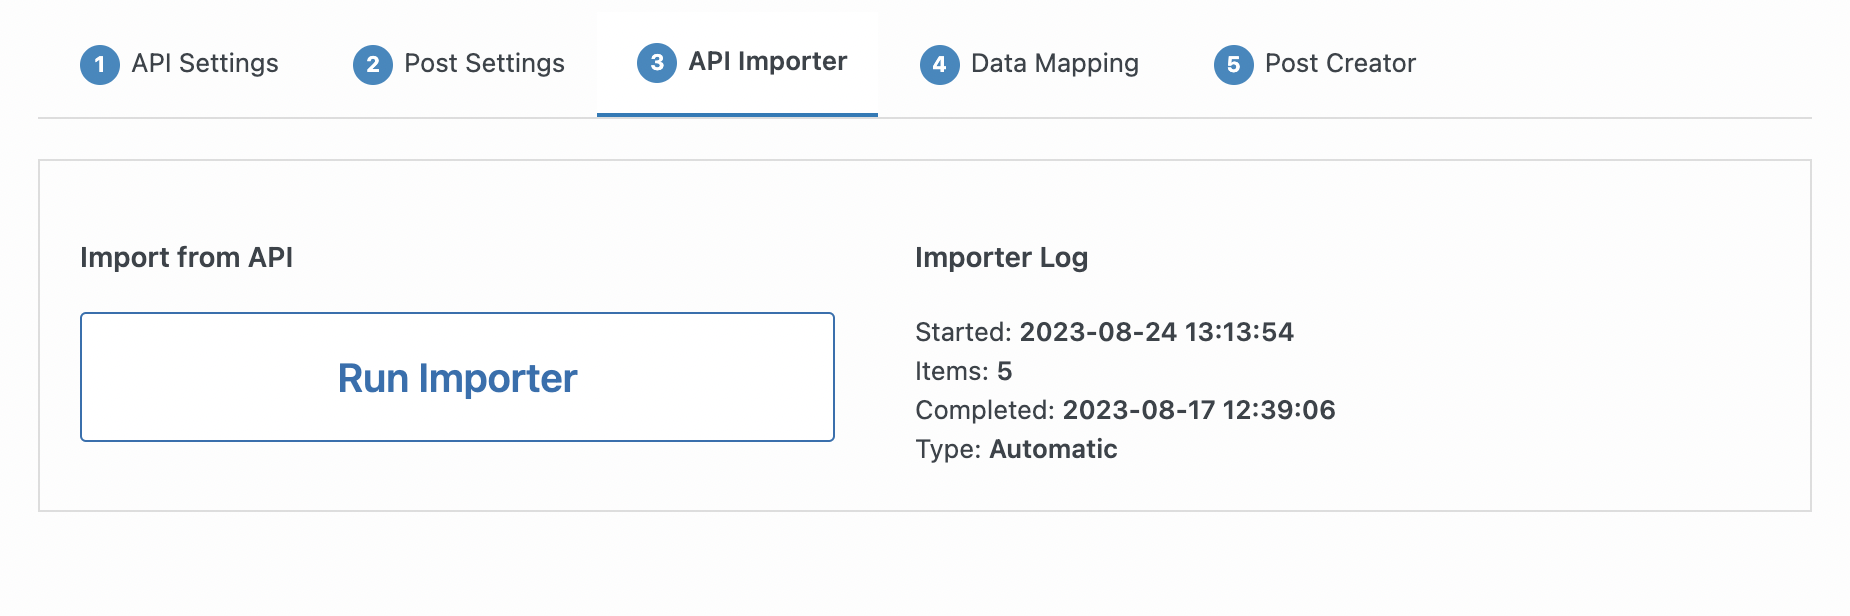
Clicking the Run Importer button will call your API endpoint and save this data within your database.
This saved data is then used to allow the mapping of the data in the next step as well as being the data that the Post Creator uses to create the posts.
4 – Data Mapping
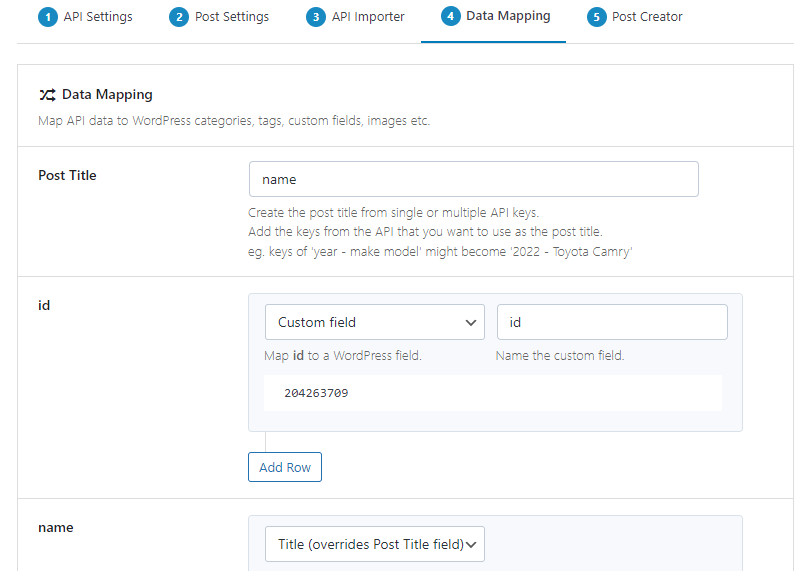
Now that we have imported the data from the API, we can use this data to lay out all the keys within the API items. Each key will be shown on this page with an option to select how the value will be added to your posts.
Looking at the image above, you can see that the ‘content‘ key from the API is being mapped to the ‘Post Content‘ field within WordPress and various other keys are being mapped to custom fields.
The Post Title field is a special one. This text field allows you to add any keys (single key or multiple keys) from the API which will be used to create the post tile.
For example: if you have a key called ‘name‘ which contains the product’s name, and you want to use this name as your Post Title, then you would simply add ‘name’ into this field.
You can also add multiple keys. If you have a car listings API, you could add into this field something like ‘year – make model‘ and the post titles would look something like ‘2022 – Toyota Camry‘.
5 – Post Creator
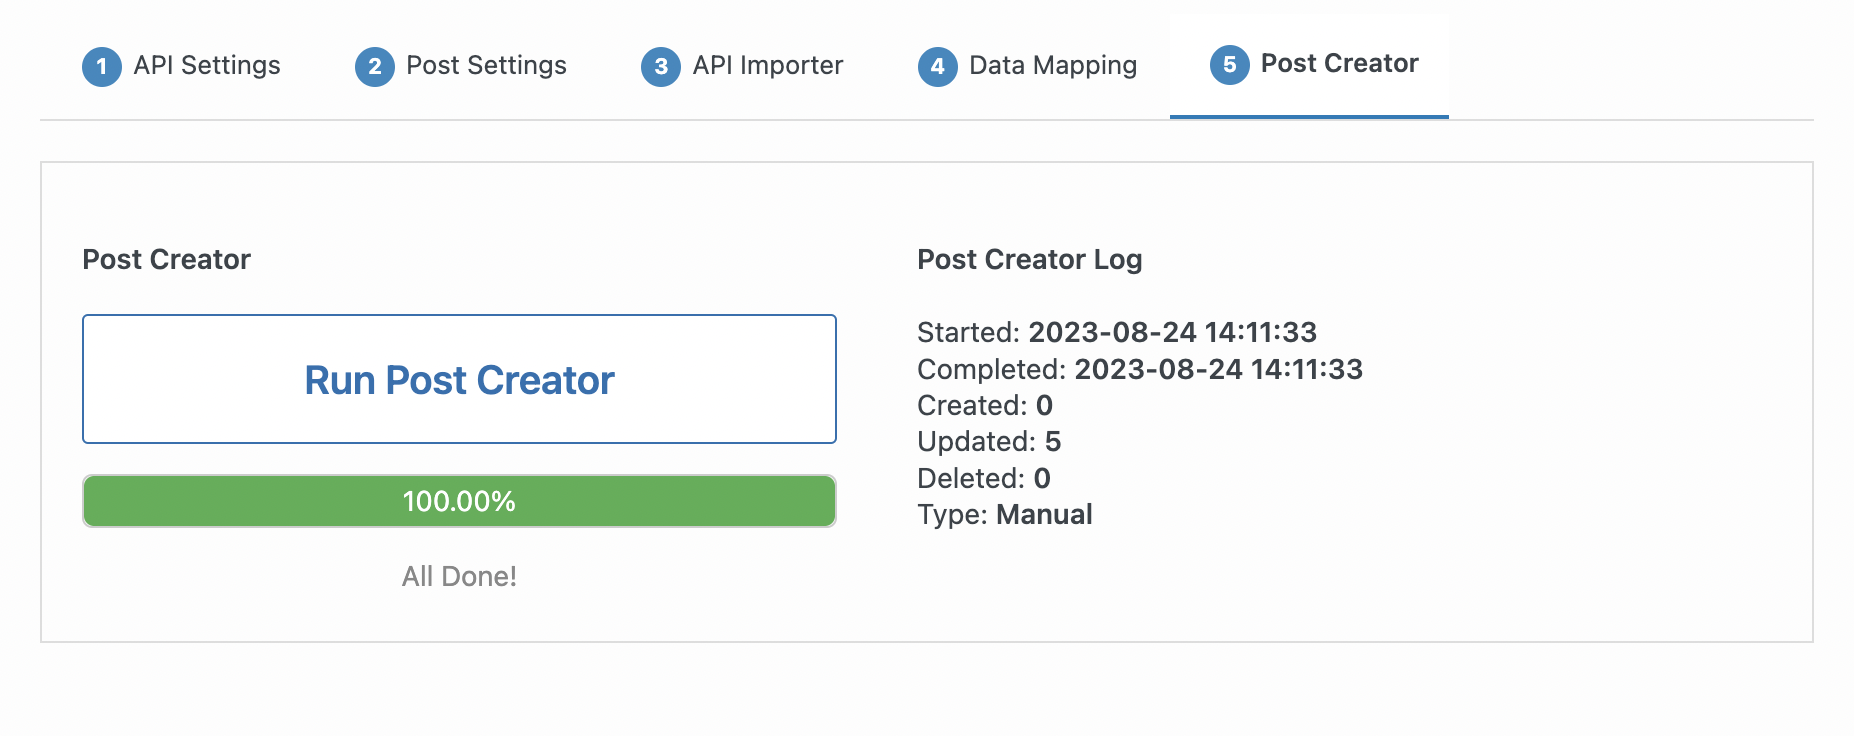
After mapping the fields, we can now use the Post Creator. Clicking on the Run Post Creator button will begin to process our saved API data and turn that data into posts or products.
After clicking this button, you should not close this page down. The Post Creator runs using AJAX which requires that the window stay open.
Note: if you have mapped an images field and the API contains many images then this can be very, very slow! Each image that needs to be imported will require an API call to get that image, process it and upload it.