WPGetAPI makes it incredibly simple to connect your website to any API.
Once you’re connected and your API is returning data, the next step is to display that data in a way that your users can read and that looks nice. Your website is using HTML, so it makes sense that the format of your API data should be in HTML also.
There are 2 ways that you can turn your API data into nice looking HTML.
- Free: use the built in WPGetAPI template tag. Requires PHP knowledge.
- Paid: use the PRO plugin which adds a format=’html’ attribute to the shortcode.
The problem
JSON data is ugly
API data is usually returned in JSON string format, which is not very pretty at all and probably not how you want to display your API data.

PHP arrays are ugly
Your data may also be returned as PHP array data, which is also not pretty and likely not how you want your API data displayed.
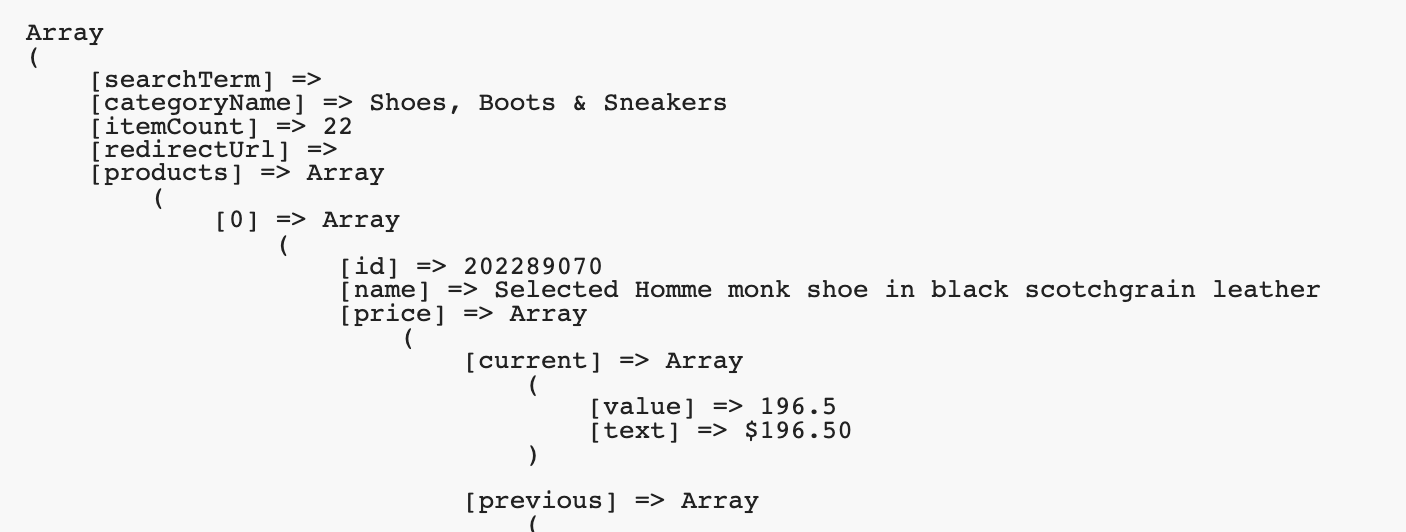
If you know PHP and are comfortable working in theme files, then this data won’t be an issue. But if you don’t know how to work with this data, read on to find out how we can easily format this into a nice HTML format.
Format API data as HTML, easily
The PRO Plugin introduces a new parameter to the [wpgetapi_endpoint] shortcode (and the template tag) that will allow us to display API data as HTML on your page. We will look at the shortcode and see how easy it is.
We simply need to add the ‘format’ attribute to the shortcode and set it to ‘HTML’ as shown below.
[wpgetapi_endpoint api_id='quotable' endpoint_id='random' format='html']The HTML output
The output will now look something like the below. It is still not perfect, but looks much better and we can now freely style it with some CSS.
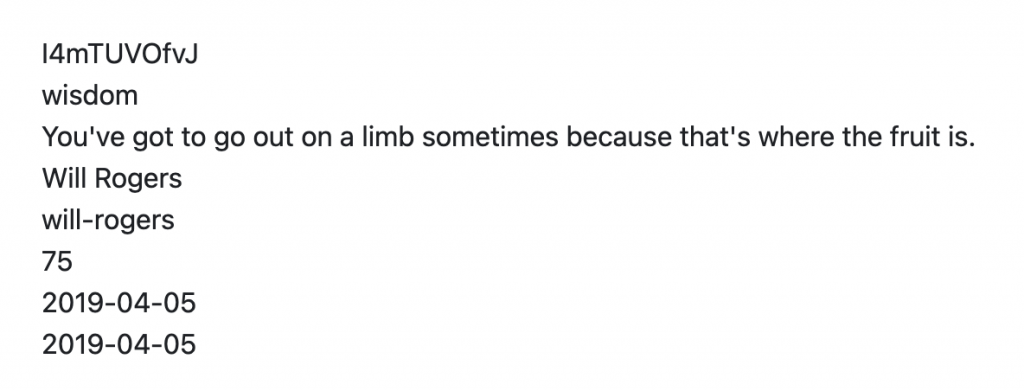
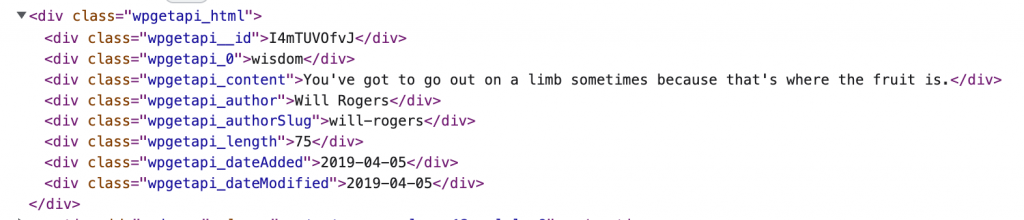
When we look at the source code of our new HTML data, this is when we can start to see how this could be used to make things look a bit prettier. If you know CSS, then you can make this look basically any way you want to.
You will notice that CSS classes are automatically created by using the keys as the class names (prefixed with wpgetapi_). The HTML can now be easily styled using CSS.
There are two options to display the required data and hide unnecessary data.
1) We can use the ‘keys’ attribute, as shown in the example below.
[wpgetapi_endpoint api_id='quotable' endpoint_id='random' format='html' keys='{content},{author},{dateAdded}']

// If it is a multidimensional array then separate keys by "|"
[wpgetapi_endpoint api_id='wether' endpoint_id='weather' format="html" debug='false' keys='{location|city},{current_observation|temparature}']
2) Alternatively, we can show the required data by applying CSS. For example, if you want to display only the content, author, and date.
.wpgetapi_html div{
      display:none;
}
.wpgetapi_content, wpgetapi_author, wpgetapi_dateAdded{
      display:block;
}
Shortcode attributes
There are 12 additional HTML shortcode attributes that get added with the PRO Plugin. These attributes allow you to:
- Set the HTML tags that are generated – can be div, li or span tags
- Include labels on each item – takes the key and turns this into a label, wrapped in its own tag ie. Author: Will Rogers
- Select any field that has a URL
- Use the URL to link another field – such as adding a link to a Title
- Image attribute that let you turn an image URL into an actual image, rather than just displaying the URL
- Prepend the image URL – some API’s will return relative image URLs so this attribute allows us to prepend a full URL
Let’s look in detail at how each of these attributes works and how we can apply them to our shortcode.
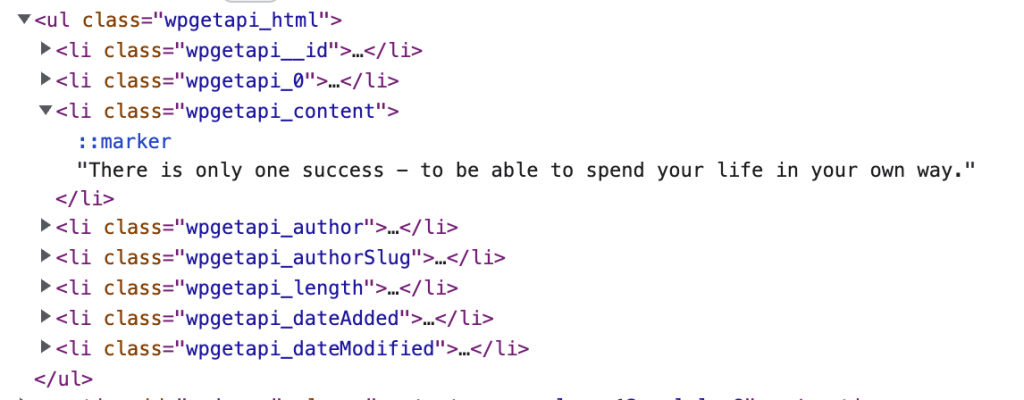
html_tag
The html_tag attribute can take in 3 different options which will affect the output of our HTML. The 3 options available are div, li and span. Here is the result of setting this to html_tag='li'
html_labels
Setting the html_labels attribute to true html_labels='true' will add the keys as labels.
Each label will be wrapped within a span tag and will be output as shown in the image below. This option will also apply some formatting to the keys so that camelCaseKeys and also keys_with_underscores or keys-with-dashes will be formatted so that they look more like this: Correctly Formatted

html_url
If your API has a URL that you want to use as a link, you can set the html_url attribute to the key that contains the URL. For example if you have a URL value on the [Url] key, you would set it like: html_url='Url'
We then need to use the html_to_link attribute which selects the key/value pair that we want to add the link to.
html_to_link
If you have used the html_url attribute above, you now need an item to apply the link to. Consider that your API has a key called Title, you would simply add html_to_link='Title' which will now apply the link to the Title. So that when a user clicks on the Title they will be taken to the URL that you set within the html_url attribute.
[wpgetapi_endpoint api_id='quotable' endpoint_id='random' format='html' html_tag='div' html_labels='false' html_url='Url' html_to_link='Title']img_key
To turn an image URL into an actual image, add the following attribute: img_key='MyImageUrl' with the key of ‘MyImageUrl’ being the key that contains your image URL. Only adding 1 image is supported.
img_prepend
To prepend the image URL, add the following attribute: img_prepend='https://someurl/images/' with ‘https://someurl/images/’ being the text that you want to prepend to the image URL.
img_link
To add a URL to an image, add the following attribute: img_link='websiteUrl' with the key of ‘websiteUrl’ being the key that contains the URL that you want the image link to be.